Make a cardboard biplane
You’ll need
- Cardboard tubes
- Paper drinking straws
- Scissors
- Paint brushes
- Paint
- Coloured pens or pencils
- Pens or pencils
- Double sided sticky tape
- Sticky tape
- Thin cardboard (cereal boxes)
- Small yogurt pots
- Foam sheet or coloured paper
- Hot glue gun (optional)
Before you begin
- Use the safety checklist to help you plan and risk assess your activity. There’s also more guidance to help you carry out your risk assessment including examples.
- Make sure all young people and adults involved in the activity know how to take part safely.
- Make sure you’ll have enough adult helpers. You may need some parents and carers to help.
Planning and setting up this activity
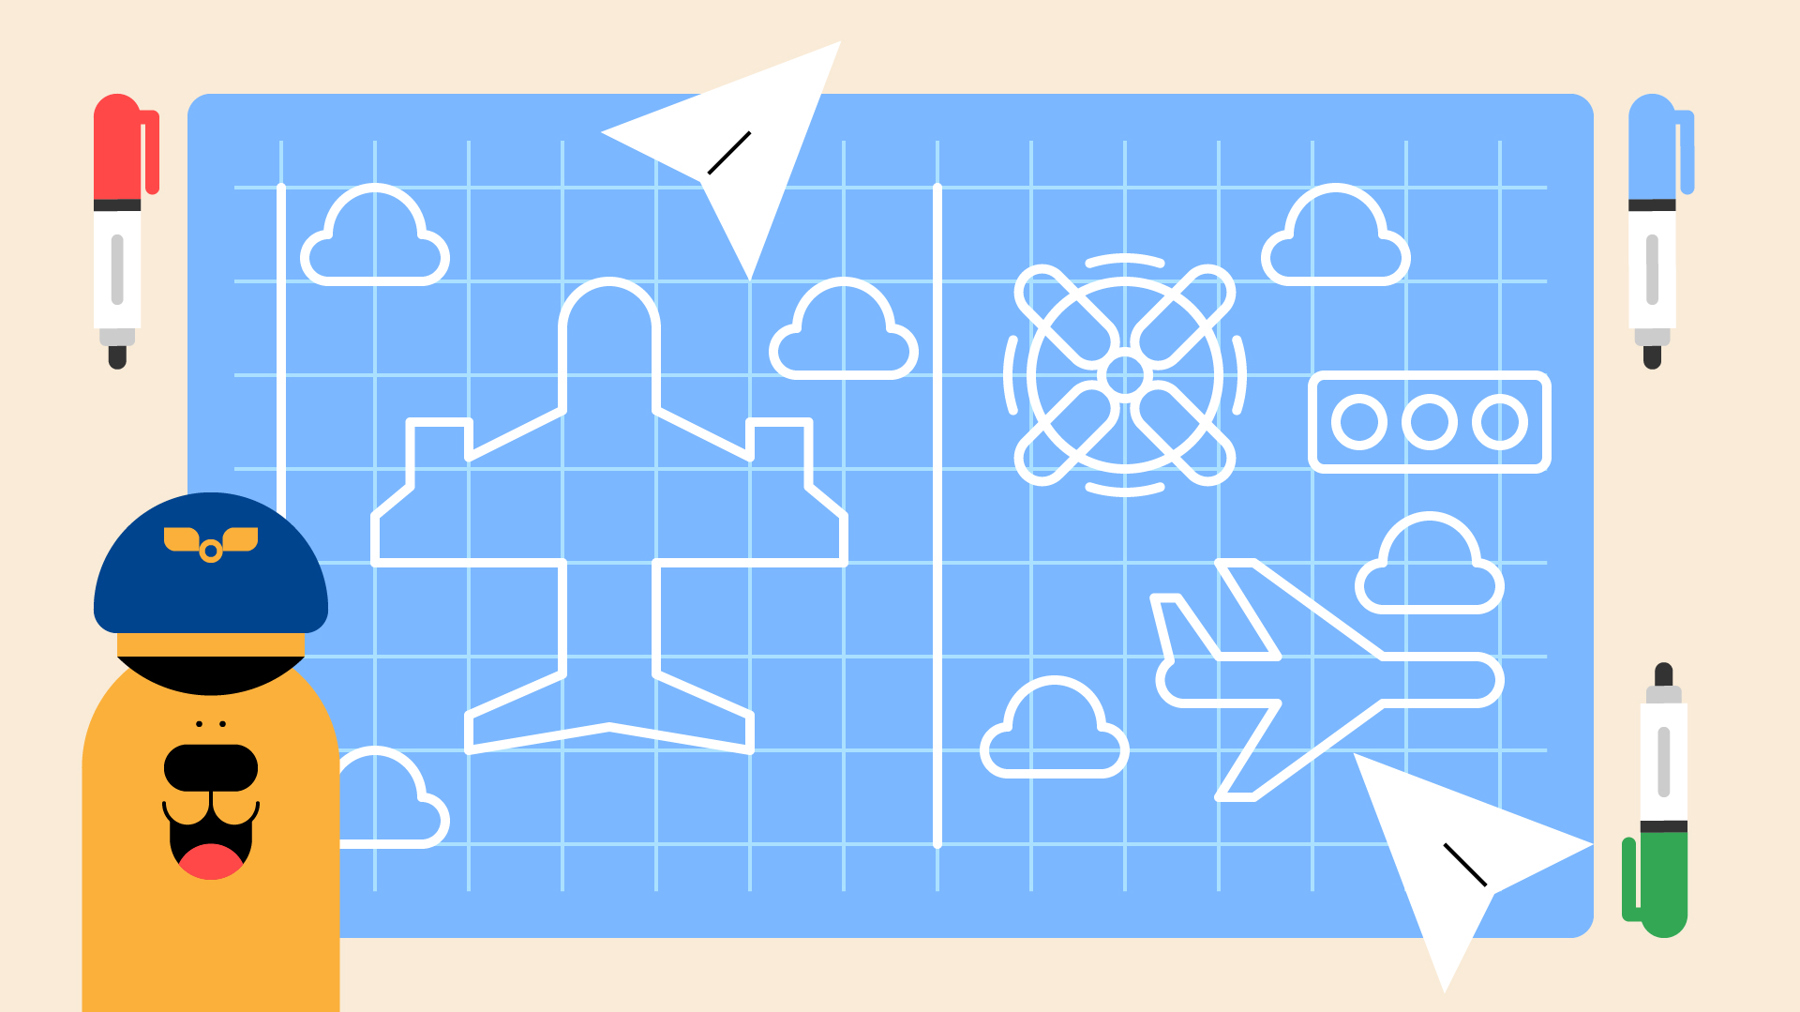
- Print out copies of the template, with a few to share between the group.
- You may wish to use a hot glue gun. Make sure this is in the risk assessment, and is always used or supervised by an adult.
Running this activity
- Ask everyone to get into groups.
- Give out the materials and templates.
- Carefully cut off the rim of the yogurt pot by trimming the edges. This will be the nose of the plane.
- Push the cardboard tube into the yogurt pot and use sticky tape to keep it in place. Or, you can use a hot glue gun to stick it in place. Make sure an adult does this or helps you, as the glue gun is very hot.
- Wrap a foam sheet or coloured paper around the cardboard tube and part of the yogurt pot, leaving the nose exposed.
- If you want to decorate the foam or paper (such as adding windows, designs, faces), do this before attaching it.
- Use tape (or an adult with hot glue) to secure the sheet in place.
- Cut out the shapes from the template. Then, put each shape on thin cardboard and trace around it. Cut out two of each piece (such as two wings, two propellers, two tails).
- Stick each pair of matching pieces back-to-back to make them stronger. You can paint or decorate the pieces however you want - use matching colours, contrasting colours, or make them multicoloured!
Rear wing
- To attach the rear wing, cut along the dotted lines on both the rear wing and the tail so they fit together.
- At the back of the plane (the end opposite the yogurt pot), cut two small 1cm notches. Slide the rear wing into these notches so it sits flat and horizontal.
Main wings
- Cut out the dotted lines on the wings.
- Cut four straws to about 6cm long.
- Use a glue gun to stick the straws standing up vertically onto the lower wing where the circles are.
- Glue or tape the cardboard tube (the body) to the middle of the lower wing, making sure the straight edge of the wing points to the front of the plane.
- Put glue on the top of the straws and carefully attach the upper wing. Hold it steady until the glue dries.
- Finally, stick the propeller onto the yogurt pot.
- And that’s it - your cardboard plane is ready for take-off!
Reflection
This activity was all about using creativity, problem-solving, and teamwork to build your own plane model. You practised following instructions, using different materials, and thinking about how the parts fit together. How did you find building your plane? What part did you enjoy the most?
Was there anything you found tricky or challenging? If you made another plane, what would you do differently next time? Did you try any new skills today?
Safety
All activities must be safely managed. You must complete a thorough risk assessment and take appropriate steps to reduce risk. Use the safety checklist to help you plan and risk assess your activity. Always get approval for the activity, and have suitable supervision and an InTouch process.
You must run your activities in line with the Safeguarding Code of Conduct for Adults (Yellow Card) and report any concerns to the UK HQ Safeguarding Team.
- Science
Supervise young people, and only do science activities that are advised and age appropriate for your section. Test activities first, to make sure you’re confident you can lead them safely. Use protective clothing where necessary.
- Scissors
Supervise young people appropriately when they’re using scissors. Store all sharp objects securely, out of the reach of young people.
- Hot tools
Tools, such as irons and glue guns, produce a lot of heat. Never touch the hot metal parts. Use them under adult supervision and on a suitable surface, protecting it if necessary. Never leave hot tools unattended and be careful near combustible materials such as wood, textiles, or paper. Make sure there’s a fire extinguisher and a first aid kit (with items to treat burns) nearby. Always follow the manufacturer’s instructions for proper use. You may need to use gloves and safety goggles with glue guns.
- Sharp objects
Teach young people how to use sharp objects safely. Supervise them appropriately throughout. Store all sharp objects securely, out of the reach of young people.
- Glue and solvents
Always supervise young people appropriately when they’re using glue and solvent products. Make sure there’s plenty of ventilation. Be aware of any medical conditions that could be affected by glue or solvent use and make adjustments as needed.
- Rubbish and recycling
All items should be clean and suitable for this activity.
- Active games
The game area should be free of hazards. Explain the rules of the game clearly and have a clear way to communicate that the game must stop when needed. Take a look at our guidance on running active games safely.
- To make it easier, pre-cut the template shapes.
- To make it harder, you could use split pins to introduce moving parts.
- You could offer templates for anyone who finds designs tricky, give a quick demonstration of what to do, or provide pre-cut materials.
- Have a variety of sticking options, such as sticky tape and glue sticks. You can also use safer alternatives, such as PVA glue instead of hot glue guns, though PVA glue might take a little longer to dry.
- Make sure to have accessible equipment or methods available, such as left-handed tools, tearing instead of cutting out, or thicker materials for easier grip.
- People can work in pairs or small groups as needed. An adult or young leader should always be available to help and support everyone.
All Scout activities should be inclusive and accessible.
If you enjoyed this activity why not try one of our others such as Air Races.