Top 8 science experiments to do at home with Rolls-Royce
Are you ready for a thrilling scientific journey from the comfort of your own home? Well, we’ve got 8 exciting experiments for you, with thanks to Rolls-Royce.
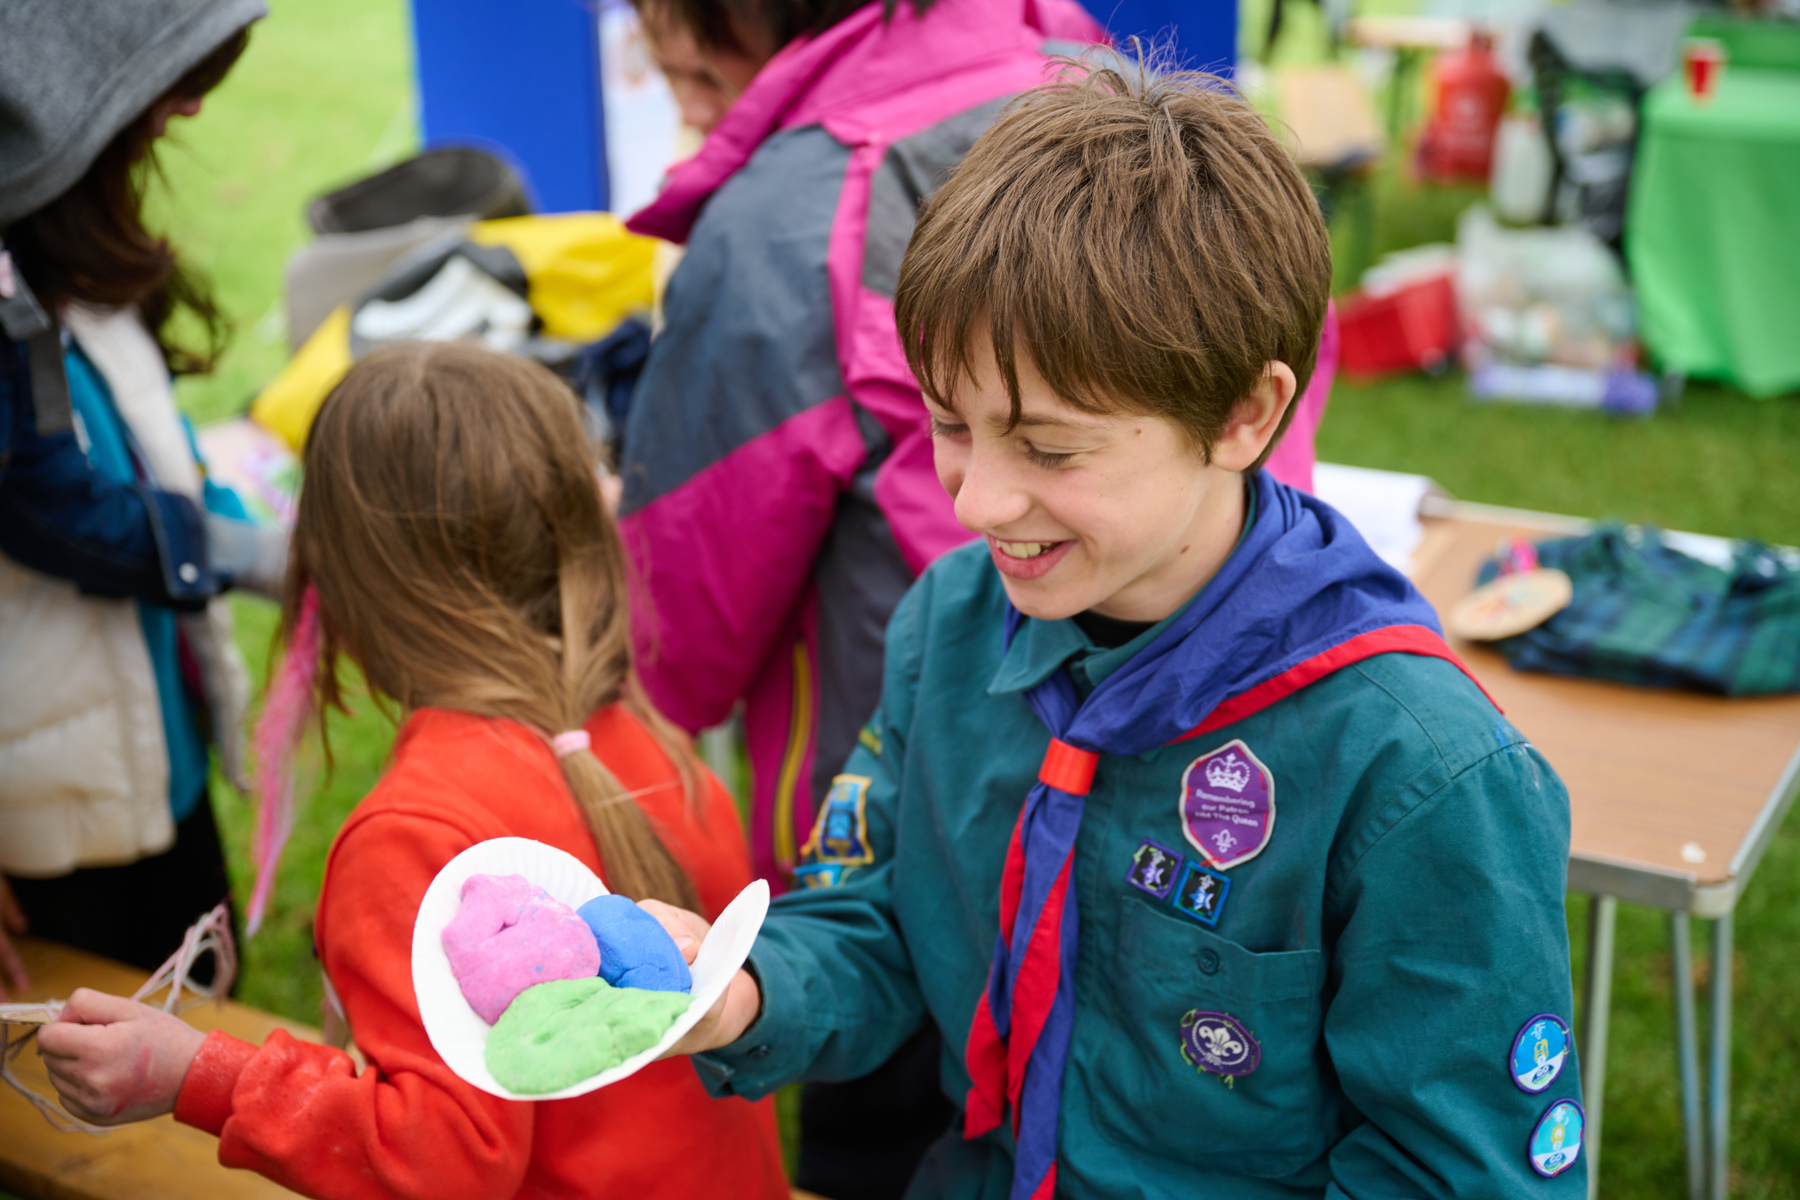
Rolls-Royce is helping Scouts to ignite their curiosity in Science, supporting our Cubs and Scouts to get their Scientist Activity Badges.
So, prepare to put on your lab coats and spark your curiosity, as we share our top science experiments to do easily at home.
From jaw-dropping chemical reactions to mind-boggling physics, let's dive headfirst into a world of wonder and scientific adventure.

You’ll need:
- A lemon
- Bicarbonate of soda
- Washing up liquid
- Knife
- Chopping board
- Spoon
- Bowl
- Food colouring (optional)
What to do:
- Ask an adult to help you to cut off the ends of the lemon, then sit it flat and upright in the bowl.
- Use the spoon to mash up the inside of the lemon.
- Keeping the lemon in the bowl, add a few drops of food colouring and a squeeze of washing up liquid into the lemon.
- Add a spoonful of bicarbonate of soda to the lemon.
- Use a spoon to mix it a little, then stand back and watch what happens - the lemon should start to fizz and froth.
How it works:
Bicarbonate of soda is an alkali. Lemon juice is very acidic because it contains citric acid, which also gives it that sour taste.
When you mix an acid (such as citric acid) with an alkali, you get a chemical reaction.
When the bicarbonate of soda’s added to the lemon, it combines with the citric acid and releases bubbles of carbon dioxide gas.
The bubbles mix with the washing up liquid, creating a fizzy, frothy lemon volcano!
You’ll need:
- Lemonade
- Water
- Two glasses
- Handful of raisins
What to do:
- Fill one glass with lemonade and another with plain, non-fizzy tap water.
- Next, place raisins in each glass.
- Watch what happens and see how they ‘dance’ in the glass with lemonade.
How it works:
The gas bubbles from the soda (made of carbon dioxide) carry the raisins upwards.
Once the carbon dioxide bubbles reach the surface of the lemonade, they pop and the gas is released into the air. When the bubbles pop, the raisin sinks again. The raisin loses buoyancy and falls back down to the bottom of the glass.
The water has no bubbles, so the raisins sink and stay at the bottom. The raisins act differently in the two different liquids.
You’ll need:
- An inflated balloon
- An aluminium can
- A jumper
Experiment 1:
- Rub a balloon on your jumper. Your jumper will become positively charged and the balloon will become negatively charged.
- Carefully try to stick the balloon to the jumper, so it hangs freely from it. You should find the balloon is attached the jumper.
- If you want to take this further, see if you can get the balloon to stick to a wall.
Experiment 2:
- Place an empty tin or can on its side on a table, so it can roll freely.
- Rub a balloon on your hair or jumper, to charge it.
- Bring the balloon close to the can. It should attract the can because neutral objects are sometimes attracted by electrostatic forces too.
Experiment 3:
- Place an empty tin or can on its side on a table, so it can roll freely.
- Rub two balloons on your hair or jumper, to charge them.
- Bring the two balloons together. They should repel each other.
Experiment 4:
- Open a tap very slightly so there is only a thin, gentle stream of water coming from it.
- Charge a balloon, by rubbing it on your hair or clothing.
- Move the balloon close to the stream of water.
- The water should be repelled from the charged balloon so the stream of water is deflected.
Experiment 5:
- Rub a balloon on your hair. Your hair will become positively charged and the balloon will become negatively charged. Oppositely charged insulators can attract.
- Next, bring the balloon close to your hair and then move it away. You should find your hair and the balloon are attracted.
- Watch your hair stick to it!
- If you want to take this further, see if you can get the balloon to stick to a wall.
How it works:
There are two types of electrical charge positive (+) and negative (-).
Most objects contain equal amounts of positive and negative charges, so they are uncharged or neutral.
Negative charges, known as electrons, can be transferred by friction between insulators. Insulators don’t conduct electricity.
Objects can become positively charged or negatively charged. When two different insulators are rubbed together, electrons move from one insulator to the other. The object which gains electrons is now negatively charged. The object which loses electrons is now positively charged.
Static electricity is a build-up of electrical charge on an object, usually because of friction between insulators.
A jumper and a balloon are both neutral (uncharged) insulators. They contain equal numbers of positive and negative charges. The balloon is rubbed against the jumper. The friction causes electrons to be transferred. Both insulators are now charged. The jumper is positively charged because it has lost electrons. The balloon is negatively charged because it has gained electrons. Because these objects have opposite charges, there is an attractive force and the balloon and the jumper are attracted to each other.
Objects with the same type of charge will repel each other. If two insulators have like charges (the same type of charge), then there is a repulsive force between them. For example, if two balloons are both negatively charged from being rubbed on jumpers, so they repel each other.
Neutral objects are sometimes attracted by electrostatic forces too. This happens because of a process called polarisation of charge. Since electrons (small, light, negative charges) are mobile, they can move quite easily. When a charged object, such as a balloon, is moved close to a neutral object, for example a wall, the electrons are repelled and move further into the object. This leaves an area of net positive charge on the surface, even though the object is electrically neutral overall. However, positive ions are much more difficult to move.
For example, a balloon is charged but the wall is neutral, so they do not attract. When the balloon is moved close to the wall, some of the electrons are repelled leaving a region of net positive charge on the wall. The charged balloon is attracted to the neutral wall.
You’ll need:
- A large bowl
- Washing up liquid
- Access to water
- A funnel
- A dishcloth
- An elastic band
- Food colouring
What to do:
- Take the funnel and give it a good wash.
- Place the dishcloth over the wide end of the funnel, so it fully covers it, then secure it onto the funnel’s pipe with an elastic band.
- Put some water into the bowl, then add a squirt of washing up liquid. Stir the washing liquid and water together, until it gets a bit bubbly. You could also use bubble mixture and pour a bit of this directly into an empty bowl to use instead.
- Dip the dishcloth covered part of the funnel into the liquid and give it a good soak.
- Lift the bubble maker out and blow through the other end of the funnel.
- Once you know how to make bubble snakes, you can add some colour by dropping different splashes of colour onto the dishcloth. The bubbles will come out like rainbows!
How it works:
A soap bubble is simply a very thin sheet of soapy water, called a soap film, surrounding a volume of air. A force called surface tension pulls the soap film tight, so that it always has the minimum surface area possible. That’s why a free-floating bubble always forms a sphere.
Since a bubble tends to reduce its surface area, bubbles will join together to share one common wall. Bubbles connect in hexagon pattern, which is also seen in honeycomb. It means bubbles always connect at 120 degrees.
When you blow air through a bubble snake maker, hundreds of tiny bubbles are created. The bubbles stick to each other, in the honeycomb pattern, creating a big, long snake!
You’ll need:
- Paintbrush
- A warm radiator
- Plain white paper
- Bowl or cup
- Lemon juice
What to do:
- First, squeeze the lemon juice into a bowl or cup and mix in a few drops of water.
- Next, dip the paintbrush into the lemon juice and water mixture.
- Use the paintbrush to write a secret message or draw a secret picture onto the plain white paper.
- Wait a few moments for the paper to dry, as this allows time for the juice to become invisible.
- Finally, carefully place the paper on a warm radiator to reveal your secret messages.
How it works:
Lemon juice contains carbon compounds that are colourless at room temperature.
The heat source (in this case the radiator) breaks down the compounds and releases the carbon.
The carbon oxidises when it comes into contact with the air.
It then turns brown, making your invisible message visible with the radiator’s heat.
You’ll need:
- 6 glasses or jars
- Kitchen roll
- Food colouring in red, yellow, and blue
What to do:
- First, remember that food colouring can stain, so it’s best to wear old clothes. You may also want to do this outside or somewhere you can protect the surfaces.
- Fold six sheets of kitchen roll lengthwise.
- Place one kitchen roll sheet between two glasses, so it connects them. Repeat this for the remaining sheets and jars. The sheets should go from the bottom of one jar to the next without sticking up too high in the air. You may need to cut a few centimetres off each sheet, so they fit into the glasses.
- When you’ve got them to the right size, remove the paper towels and place them to one side.
- Next, fill the first glass with a generous amount of red food colouring. Fill the third glass with yellow food colouring and the fifth glass with blue food colouring. Leave the other glasses empty.
- Then, add water to the glasses with food colouring them, until the coloured water almost reaches the top.
- Mix each glass of food colouring well, using a separate spoon for each colour.
- Now add the paper towels back to the glasses. Starting with red, add one end of the paper towel and put the other end in the empty glass next to it, and so on.
- After several minutes, the coloured water will travel almost the whole length of each paper towel. You can watch the water do its magic for about 20 minutes.
How it works:
The coloured water travels up the paper towel by a process called capillary action.
Capillary action is the ability of a liquid to flow upward, against gravity, in narrow spaces. This is the same thing that helps water climb from a plant’s roots to the leaves in the tree tops.
Kitchen roll (and all paper products) are made from fibres found in plants called cellulose. In this demonstration, the water flowed upwards through the tiny gaps between the cellulose fibres.
The gaps in the towel acted like capillary tubes, pulling the water upwards. The water can defy gravity as it travels upward due to the water molecules clinging to the cellulose fibres in the paper towel. This is called adhesion.
The water molecules are also attracted to each other and stick close together, a process called cohesion.
So, as the water slowly moves up the tiny gaps in the paper towel fibres, the cohesive forces help to draw more water upwards.
You’ll need:
- Six glass jars or bottles
- A jug
- Water
- A metal spoon
What to do:
- Arrange six glass jars or bottles, making sure they’re all the same size, but with no lids.
- Place the six glass jars or bottles in a line.
- What do you think will each jar sound like when you tap it with a spoon? Like any scientist, make a prediction, then tap each jar and write down what it sounds like.
- Next, put water in each of the jars. Pour 60 millilitres (ml) of water into the first jar. Add 120ml of water to the second jar. Add 180ml of water to the third jar. Add 240ml of water to the fourth jar. Add 300ml of water to the fifth jar. Finally, put 360ml to the sixth jar.
- If you want to, add a couple of drops of food colouring to each jar.
- Now, make another prediction. What will each jar sound like? Will they sound the same or different than when the container was empty? Will they sound the same or different from one another?
- Tap each jar with a metal spoon.
- Were you observations correct? Write down your observations about each jar’s pitch (how high or low a sound is).
- If you play around with the different levels of water in each jar, how does it change the pitches? Using the different pitches, can you make a tune or song for someone else to guess?
How it works:
Sound waves are created by vibrations, which are back-and-forth movements that repeat again and again.
The pitch depends on the frequency of the waves, so how many are created each second. A high pitch is created by high-frequency sound waves and can sound squeaky. A low pitch is created by low-frequency sound waves, and sounds deep and booming.
When you tapped the jar, it vibrated. The vibrations travelled from the jar to the water to the air and eventually to your ears. The jars with more water had a low pitch. The sound waves vibrated more slowly, because they had more water to travel through.
The jars with less water had higher pitches. The sound waves vibrated faster because they had less water to travel through.
A jar with no water in it makes the highest pitch, because it has the least substance to travel through.
You’ll need:
- 2 paper cups
- String
- 2 paperclips
- Pushpins
- Scissors
- Sticky tack
What to do:
- With adult help or supervision, use a push pin to poke a hole in the bottom of one of the cups. You should put some sticky tack on the other side for the pin to be pushed into.
- Cut a length of string and thread it through the hole in the cup. Pull the end of the string through and tie a paperclip on the end of the string threaded through the cup, so the paperclip sits on the inside of the cup. This’ll stop the string from coming out.
- Repeat steps 1 and 2 with the other cup
- Find a friend, walk apart until the string is tight.
- When you’re ready one person should quietly talk into their cup, while the other person should put their ear to and listen on their cup.
Take it further
You can try different techniques to see what happens in this experiment. See if you can make a prediction of what will happen before giving it a go.
What happens if you…
- Hold the string when you talk?
- Change the length of the string/line?
- Let the string become loose when you talk?
- Use a bigger or smaller sized paper cup?
- Use a plastic cup instead of a paper cup?
- Try to make a 3-way call?
How it works:
A string telephone works very much like a landline phone.
When you talk into the cup your voice sends sound waves inside the cup, vibrating the bottom of the cup.
The vibrations are transferred to the string, across the string and into the bottom of the other cup. The sound waves become vibrations inside the second cup, transferring the sound of your voice.
Staying safe
When running these activities for Scouts, as well as at home, all activities must be safely managed. You’ll need to:
Have appropriate adult supervision: Always have suitable supervision for young people. In Scouts, always follow the Yellow card and make sure you’ll have enough adult helpers.
Choose age appropriate experiments: Only do science activities that are advised and age appropriate for your section. For example, you may want to avoid anything with small objects or choking hazards for 4-6 year olds (Squirrels).
Have a practice: You should test activities first to make sure you’re confident in running them safely.
Wear protective clothing: You should use protective clothing where necessary, such as gloves, goggles and/or aprons. You should also protect surfaces, where appropriate, such as by using newspaper or a tablecloth.
Complete a risk assessment: Have a thorough risk assessment and take appropriate steps to reduce risk. Use the safety checklist to help you plan and risk assess your activity. Always get approval for the activity. Always have an InTouch process in place.
Check everyone knows how to take part, including having an emergency stop: Make sure all young people and adults involved in the activity know how to take part safely, such as running a demonstration and explaining what to do clearly. You should have a clear way to communicate to emergency stop when needed.
Check dietary requirements, medical conditions and allergies: You may need to adapt the activities to make sure everyone can take part and handle the items used. Check for dietary requirements, medical conditions or allergies that could be affected by what’s being used.
Follow manufacturers guidelines and relevant safety guidance, including for disposal: Make sure you follow all relevant safety guidance or manufacturers guidelines, where available. Make sure you dispose of it appropriately too, in line with safety guidance. Some tasks may involve the use of unusual substances, potentially harmful ingredients or chemicals - again, make sure you follow all relevant safety guidance, including for disposal.
Supervise the use of sharp objects: Demonstrate how to use and supervise the use of sharp objects, such as scissors. Supervise them appropriately throughout. Store all sharp objects securely, out of the reach of young people.
Be cautious when using hot or heat-producing objects: Hot items, such as irons, kettles, cookers and microwave ovens, produce a lot of heat. Be cautious when using this type of equipment and handling objects that have been heated, such as by using heatproof gloves. Young people should only use this equipment and handle heated objects under adult supervision. Always use stable and heatproof surfaces when involving heated items in an activity and have a fire safety plan in place, such as smoke alarms, fire drills and a safe way to extinguish fire. Never leave hot items unattended or unsupervised.
Have a first aid kit: Make sure there’s a first aid kit nearby, including eyewash and items to treat burns or scalds. Find out more about first aid kits and first aid training.
Find out more about safety in Scouts