Photo mapping
You’ll need
- Pens or pencils
- Glue sticks
- Big pieces of paper
- Camera or phone
- Scissors
- Access to a printer
- Map of your local area
Before you begin
- Use the Safety checklist to help you plan and risk assess your activity.
- Don’t worry if you’re struggling to get hold of everything you need to follow the instructions exactly. If you don’t have access to cameras, people could draw the locations. If there is no way of printing the photos at your meeting place, make the maps at the next meeting. If there are no big sheets of paper, stick several sheets of A4 paper together.
- This activity may take two sessions as participants will need time to visit the locations and take photographs.
- Plan a walking route that passes plenty of places of local interest (suggestions included below). Consider planning one route for the whole group, or different routes for different teams. Each group will need a copy of the map with their route on. You may also want to consider asking them to plan their own route.
- Suggestions of places to include on a route:
- Doctor’s surgery, veterinary surgery, dentist, hospital, ambulance station.
- Fire station, police station, car repair garage, shopping centre, retail park, convenience stores.
- Bus station, railway station, local routes of buses and trains.
- Local Scout Headquarters, public parks, theatre, sports and leisure complex, cinema.
- Places of worship, museum, schools, colleges, local government buildings.
Explore your community
- Everyone should split into small groups of up to five people.
- Everyone should make sure they are ready for the walk – have they got everything they need? Are they dressed appropriately for the weather and time of year?
- Each group should have a map of their local area as well as some suggestions of places to look out for.
- Each group should set off on their walk with a leader. Along the way, they should look out for the places of interest within their community.
- Each time the group stops at a place of interest, they should take a photograph and note it down on their map. They could also make additional notes or comments about what the site means to their community as well as them personally.
- When back at the meeting place, print off the pictures from each group’s camera.
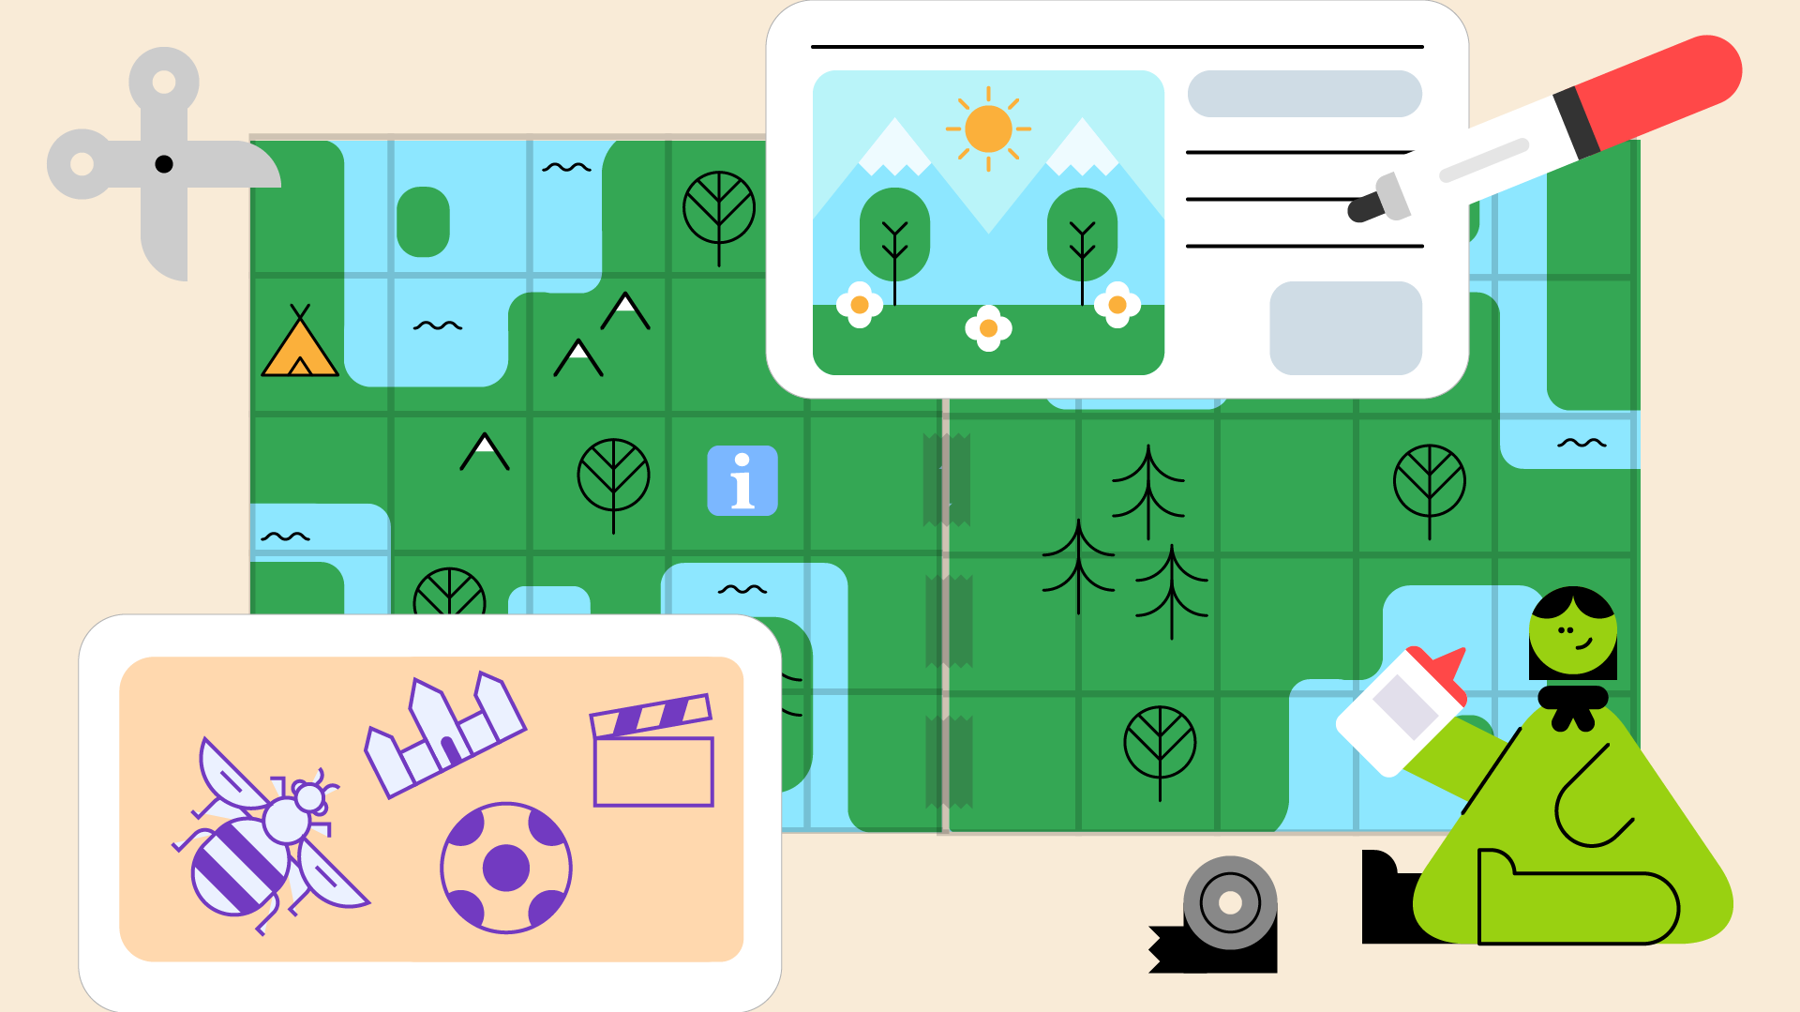
Make a photo map
- Each group should have a big piece of paper and some pens or pencils.
- Each group should draw a map of their local area in the middle of the piece of paper. If this is too challenging, consider sticking a printed map to the paper instead.
- Each group should cut out the pictures they took during the walk and glue them near the right location on their map – they may want to draw a line from the picture to its location on the map. They should use the map they took on their walk to help them remember where each picture was taken.
- Add notes to the paper about the significance of the site to them and their local community.
- Consider displaying the final photo maps in your meeting place to share your group’s local knowledge.
Reflection
This activity was all about developing skills and being a team player by working as a group to explore your local area. Were there any places of local interest that you hadn’t noticed before? How well do you feel your community serves you? Is there anything missing from your community? Everyone was encouraged to include places of personal interest as well. Did you learn something new about someone in your group?
This activity needed people to be team players. How did your group work together on your walk? Did you walk at a pace that worked for everyone? How did your group communicate? Did everyone join in with making the photo map?
Safety
All activities must be safely managed. You must complete a thorough risk assessment and take appropriate steps to reduce risk. Use the safety checklist to help you plan and risk assess your activity. Always get approval for the activity, and have suitable supervision and an InTouch process.
You must run your activities in line with the Safeguarding Code of Conduct for Adults (Yellow Card) and report any concerns to the UK HQ Safeguarding Team.
- Hiking and walking
Follow the guidance for activities in Terrain Zero, or the guidance from our adventurous activity pages.
- Glue and solvents
Always supervise young people appropriately when they’re using glue and solvent products. Make sure there’s plenty of ventilation. Be aware of any medical conditions that could be affected by glue or solvent use and make adjustments as needed.
- Dark
Provide some light, so the environment isn’t completely dark. Everyone must be able to see others and move around the area safely.
- Phones and cameras
Make sure parents and carers are aware and have given consent for photography.
- Road safety
Manage groups carefully when near or on roads. Consider adult supervision and additional equipment (such as lights and high visibility clothing) in your risk assessment.
- Scissors
Supervise young people appropriately when they’re using scissors. Store all sharp objects securely, out of the reach of young people.
- Visits away from your meeting place
Complete a thorough risk assessment and include hazards, such as roads, woodland, plants, animals, and bodies of water (for example, rivers, ponds, lakes, and seas). You’ll probably need more adult helpers than usual. Your risk assessment should include how many adults you need. The young people to adult ratios are a minimum requirement. When you do your risk assessment, you might decide that you need more adults than the ratio specifies. Think about extra equipment that you may need to take with you, such as high visibility clothing, a first aid kit, water, and waterproofs. Throughout the activity, watch out for changes in the weather and do regular headcounts.
- Depending on resources, timing and ability, you may want to encourage the groups to plan their own route with specific sites in mind.
- For an extra challenge try this activity somewhere new that’s not familiar to everyone.
Make sure the routes you plan are accessible for everyone, for example, by making sure they avoid steps or include places to rest. If you’re likely to be outside when it’s dark, take a torch.
All Scout activities should be inclusive and accessible.
You could combine this activity with our activity Local knowledge tour where participants create and run a local knowledge tour. Everyone should make notes on what they have learned about each location and then use that to fill their photo map.
It’s best if everyone has the chance to create their own route around the local area. Do they want to add any other places of interest to their list?