
Make a constellation projector
You’ll need
- Paper cups
- Drawing pins
- A4 paper
- Pens or pencils
- Scissors
- Torch or phone
Before you begin
- Use the safety checklist to help you plan and risk assess your activity. There's also more guidance to help you carry out your risk assessment, including examples.
- Make sure all young people and adults involved in the activity know how to take part safely.
- Make sure you’ll have enough adult helpers. You may need some parents and carers to help.
Planning and setting up this activity
- You may want to make a sample constellation projector to show everyone an example and how it works.
- Have copies of constellations, such as Cassiopeia, Orion or the Big Dipper, for people to copy.
- Find a safe space that can be used to test the projectors, such as a darker room, a tent set up indoors or under a table covered with a blanket.
Running this activity
- Gather everyone together and ask them if they know what constellations are.
- Tell everyone that constellations are officially recognised patterns in the night sky that help astronomers divide the sky into sections. There are 88 constellations and 56 of them can be seen from the UK, but you can’t always see them all year round.
- They're traditionally named after what they resemble such as Ursa Major (the Great Bear), or mythological figures like Orion and Hercules.
- The patterns of the constellations were invented as distinctive, easy-to-remember patterns of stars as seen from Earth. The 88 constellations act as a handy map of the skies and a seasonal calendar used from ancient times.
- Although the constellations have no scientific significance, astronomers have retained them as convenient visual reference points; it is much easier to speak of a star in Orion than to give its co-ordinate position in the sky. You can find out more from the Royal Museum of Greenwich.
- Ask if anyone can name a constellation. You could hold up some examples for them to guess. Some examples are Leo, Libra, Pisces, Gemini or Orion.
- When everyone’s ready, they can take a cup and choose a constellation to copy.
- Draw out the constellation onto the bottom of the cup, marking out where each star is. You could, write the constellation’s name on the side of the cup, to remember which one it is.
- Using a skewer or pin, carefully poke holes in cup where you’ve marked each star as being. You can make the hole bigger for brighter stars or smaller for dimmer stars.
- Once the cup’s complete, test their constellations in a dark space by holding a torch underneath it. The light will shine through the holes and project them onto the dark surface, walls, floor or ceiling. You could use a dark room, go outside as a group, or try going underneath a blanket-covered table.
- If anyone finishes early, they could make another constellation projector, designing their own constellation and create their own mythological stories for it.
Constellations are a group of stars which forma a recognisable patter, whereas Asterisms are groups of stars which may be part of a constellation, or contain stars from across multiple constellations, which are recognisable as a group and have their own collective name. For example, you may have heard of the 'Plough', which is a very well-known asterism. It's made up of the seven brightest stars in the constellation Ursa Major. You can find out more from the Royal Museum of Greenwich.
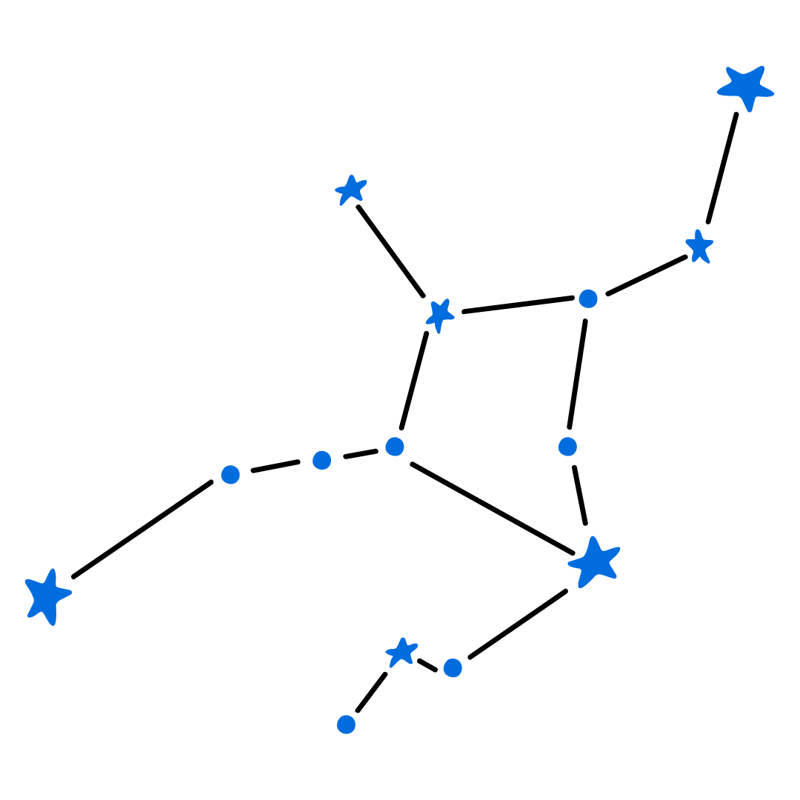
Virgo
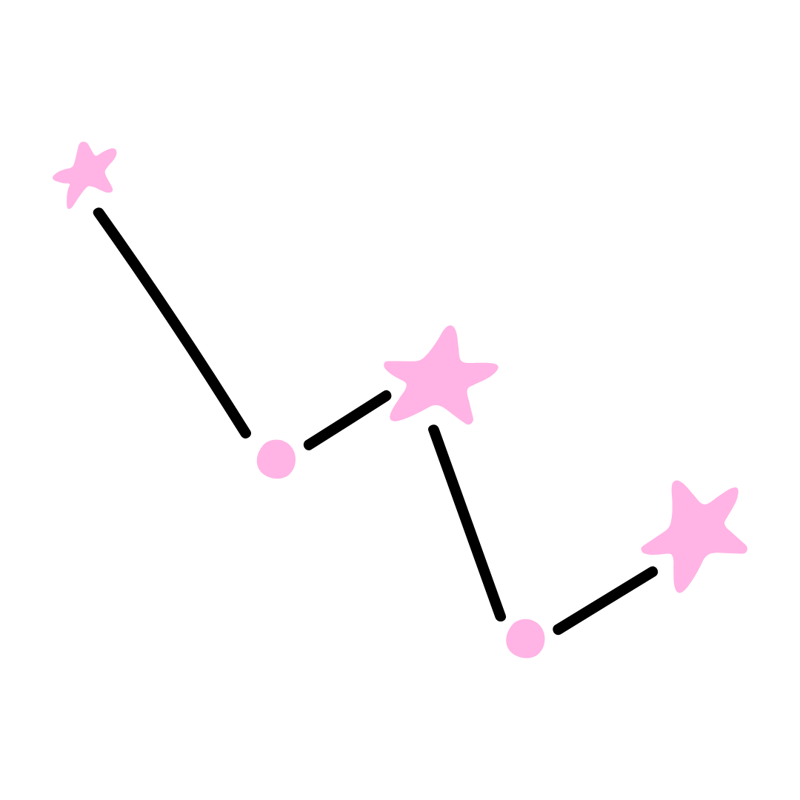
Cassiopeia
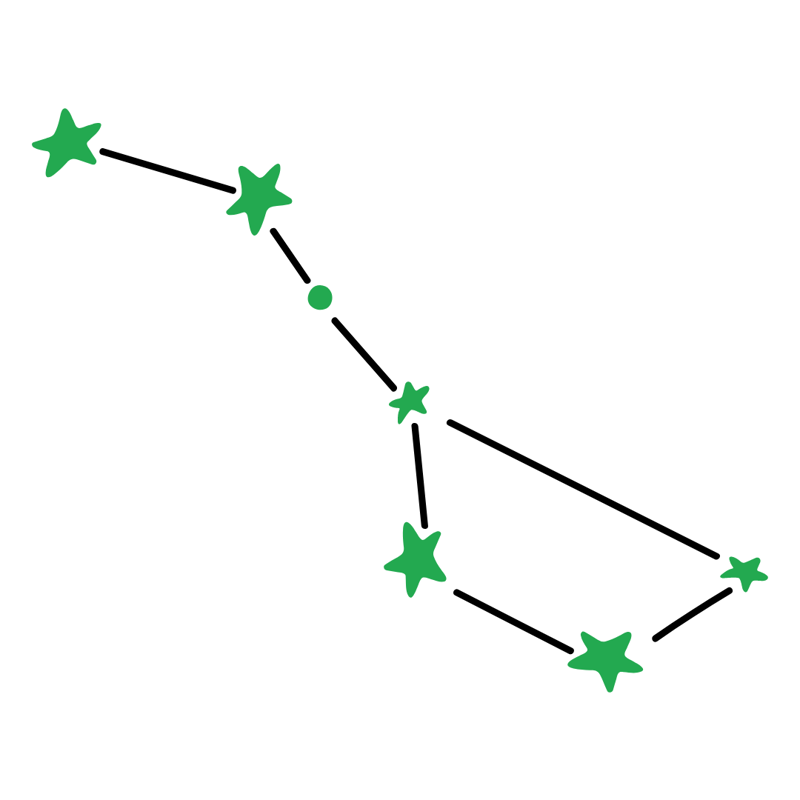
Ursa Major (Great Bear)
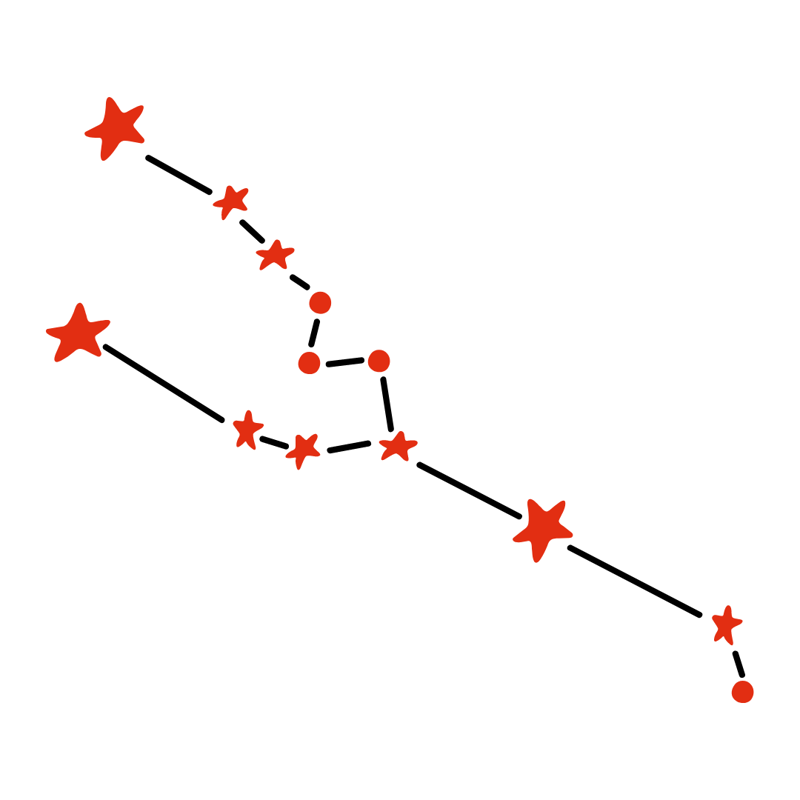
Taurus
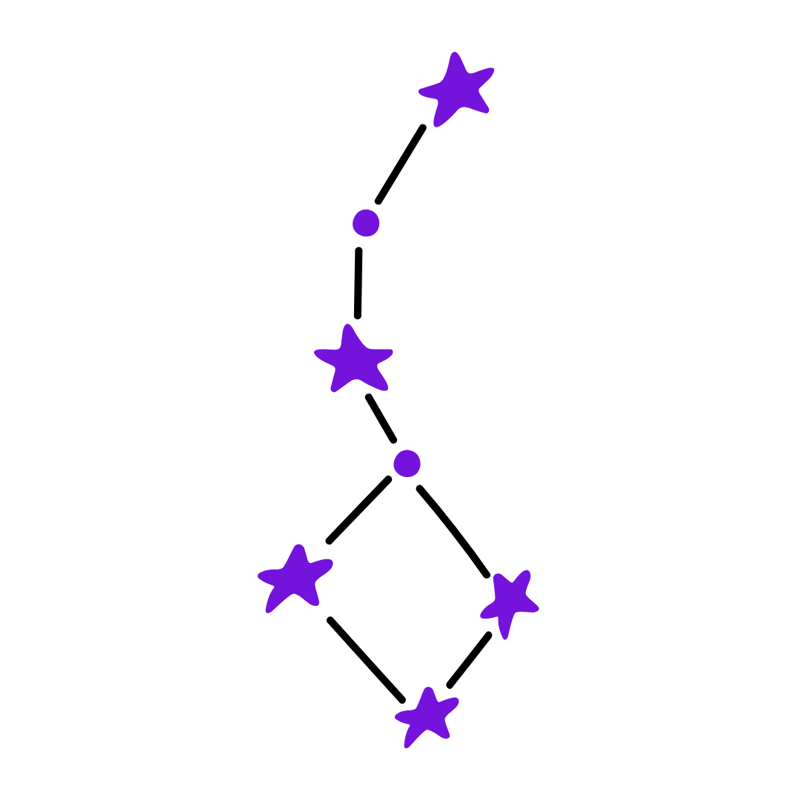
Ursa Minor (Little Bear)
- Shape of the Constellation: Virgo is often depicted as a maiden holding a sheaf of wheat. The constellation is large but scattered, and its stars form a long, slightly curved pattern.
- How to Spot It: The brightest star, Spica, marks the maiden’s hand, and the rest of the constellation stretches out across the sky. Virgo is often found between Leo and Libra.
- When to See It: Virgo is best seen in the spring and early summer months in the Northern Hemisphere, typically visible from March to July.
- Shape: Ursa Major looks like a big bear, but most people recognise it by the Big Dipper, which is an asterism made of seven stars that looks like a big spoon or ladle.
- How to Spot It: You can find the Big Dipper in the sky by looking for the "bowl" of the spoon (four stars) and the "handle" (three stars) pointing out from the bowl. It’s easy to spot because it’s one of the biggest and brightest groups of stars in the northern sky.
- When to See It: You can see Ursa Major all year round if you live in the Northern Hemisphere, but it's highest in the sky during the spring and summer months.
- Shape: Ursa Minor is smaller and also has an asterism called the Little Dipper, but its bowl is smaller, and it has a famous star at the end of its handle called Polaris (the North Star).
- How to Spot It: To find Ursa Minor, first look for the Big Dipper. Draw a line through the two stars at the end of the Big Dipper’s bowl, and it will point toward Polaris, the bright star at the end of the Little Dipper’s handle.
- When to See It: You can see Ursa Minor all year round in the Northern Hemisphere, and it’s always in the northern sky, with Polaris staying in nearly the same spot.
- Shape of the Constellation: Cassiopeia is known for its distinctive "W" or "M" shape, depending on its orientation in the sky. It is formed by five main stars and is one of the easiest constellations to recognise.
- How to Spot It: Cassiopeia is located near the North Star, Polaris, and is visible year-round in the Northern Hemisphere. It’s best seen in the northern sky.
- When to See It: It is visible year-round for most of the Northern Hemisphere, especially prominent during autumn and winter.
- Shape of the Constellation: Taurus is shaped like a bull, with its distinctive V-shaped cluster of stars representing the bull’s head. The cluster known as the Pleiades or Seven Sisters is also part of Taurus.
- How to Spot It: Look for the V-shape formed by the stars, with the bright red star Aldebaran marking the bull’s eye. The Pleiades star cluster is another key feature of this constellation.
- When to See It: Taurus is visible in the winter and early spring in the Northern Hemisphere, particularly from late autumn through March.
For more detailed information on constellations you could check out Noirlab, the U.S. national centre for ground-based, night time optical astronomy.
Reflection
This activity was all about the stars! You created your own constellation projector, imagining how it would feel to gaze at the night sky from different parts of the universe. You worked as a team to design the projector, thinking about how to create the perfect starry display and how to make sure the stars shine brightly and clearly. You also had the chance to think about the different constellations you’d like to feature and how your projector could bring the wonders of the universe to life. Reflecting on the activity, consider what was the most exciting part of building your constellation projector, what challenges you faced while trying to design the perfect starry scene, how your team collaborated to come up with ideas, what technologies might help make future star-gazing experiences even better, and how you would improve your design with more time or resources.
Safety
All activities must be safely managed. You must complete a thorough risk assessment and take appropriate steps to reduce risk. Use the safety checklist to help you plan and risk assess your activity. Always get approval for the activity, and have suitable supervision and an InTouch process.
You must run your activities in line with the Safeguarding Code of Conduct for Adults (Yellow Card) and report any concerns to the UK HQ Safeguarding Team.
- Scissors
Supervise young people appropriately when they’re using scissors. Store all sharp objects securely, out of the reach of young people.
- Sharp objects
Teach young people how to use sharp objects safely. Supervise them appropriately throughout. Store all sharp objects securely, out of the reach of young people.
- Dark
Provide some light, so the environment isn’t completely dark. Everyone must be able to see others and move around the area safely.
- To make this activity easier, you could have pre-made templates for each constellation, with clear dots marked on them to show where to make the holes.
- To make this activity harder, you could challenge them to design their own constellation.
- Make sure to have accessible equipment or methods available, such as left-handed tools, tearing instead of cutting out, or thicker materials for easier grip.
- Making the hole can be tricky. You could pre-do some of the fiddly parts, such as drawing the constellations onto cups or use push pins with a bigger grip. Taping down one side the cups to hold items in place can help.
- Make sure there’s enough time for everyone to try the activity a few times and have plenty of adults available for support. You could run the activity over multiple sessions and have backup activities for early finishers, so everyone can work at their own pace.
- You could offer templates for those who struggle with designs, give a demonstration of what to do, or provide pre-cut materials.
- If someone feels uncomfortable with darkness, they could test out their constellation projector at home. No one should be in the dark if they don’t want to. Always check that everyone feels comfortable before and during the activity. You could offer another activity alongside this one for those who prefer not to be in the dark.
All Scout activities should be inclusive and accessible.

If you enjoyed this activity, you could try stargazing and spot some of the constellations you made.
Young people could share what they know about constellations or make their favourite one.