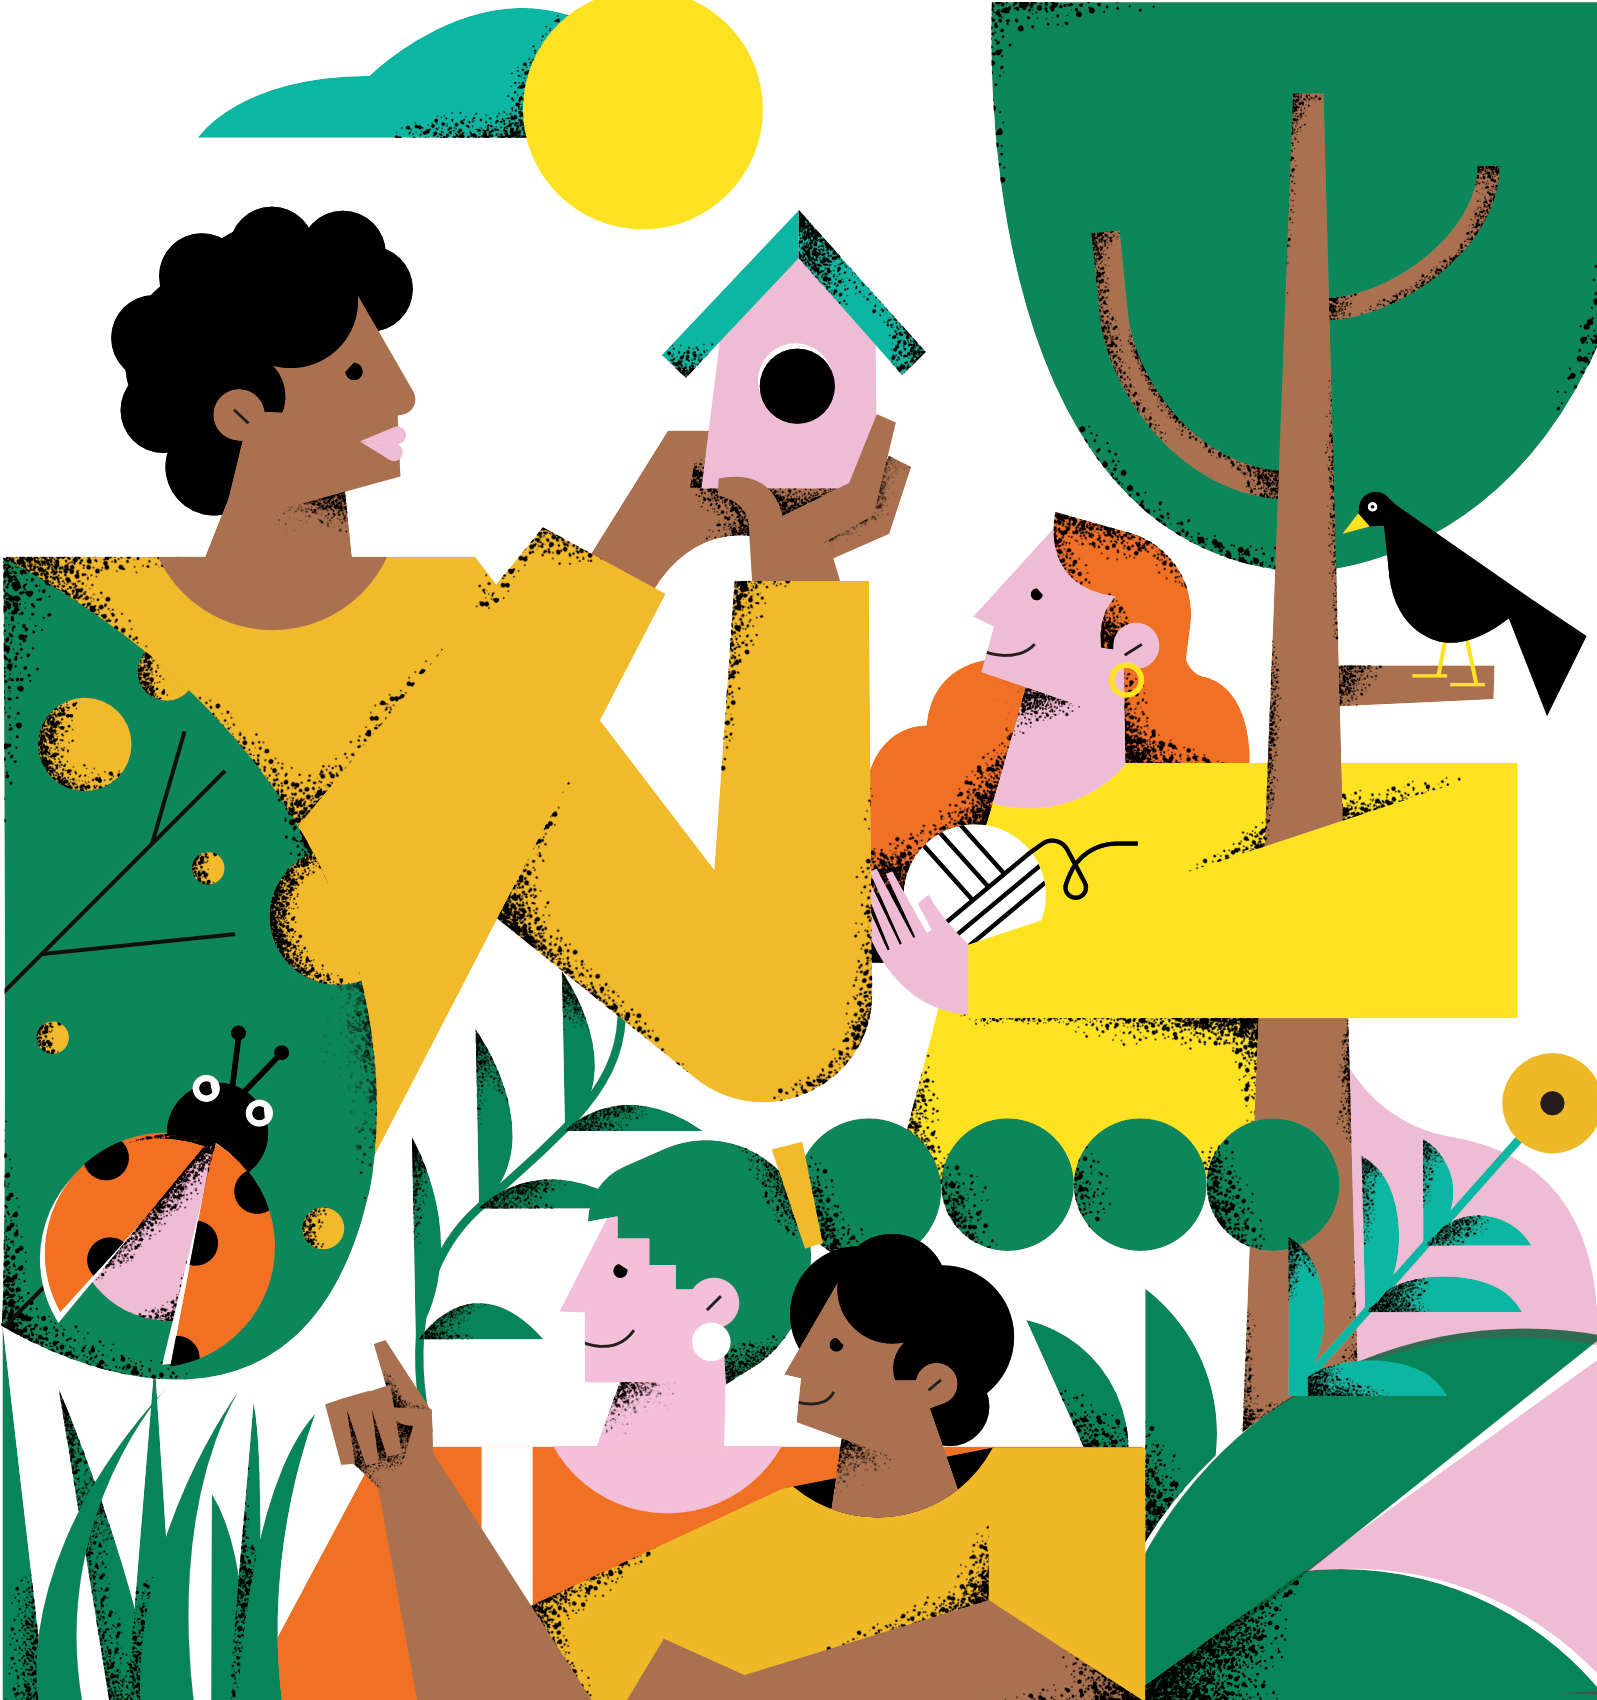
Green Young Leaders’ Scheme
Green Young Leaders’ Scheme
Learn how to run the Green Champion programme with the section you support, and become a Green Young Leader in the process.
We’ve created resources to help you navigate each of the following areas:
- The Green Champions programme >
- The five pathways to nature connectedness >
- Planning your Green Champion programme >
- Running a community impact project >
- Managing groups outdoors >
- Delivering a great session >
- Managing safety >
- Behaviour and inclusion >
- Reviewing, evaluating and, feeding back >
You can also download all of this information from the Scout Adventures website.
The Green Champions programme
The project at a glance
Generation Green is a project funded by the Department for Environment, Food & Rural Affairs (Defra) through the Heritage Lottery Fund. It’s being delivered by organisations working together – you’ll hear this called a consortium. YHA (England & Wales) is hosting the project on behalf of the partners: The Outward Bound Trust, Scouts, Girlguiding, Field Studies Council and the 10 English National Parks
People must complete the project by 31 of March 2022. By then, the project aims to engage 100,000 young people in activities that help them connect with nature, with at least half of its opportunities reaching young people who are traditionally underrepresented in the outdoors. This includes young people who:
- live in communities that are relatively more deprived (communities that are in levels one, two, and three of the government’s Index of Multiple Deprivation)
- are Black, Asian or from another ethnic minority group
- live in urban and coastal communities
- are disabled.
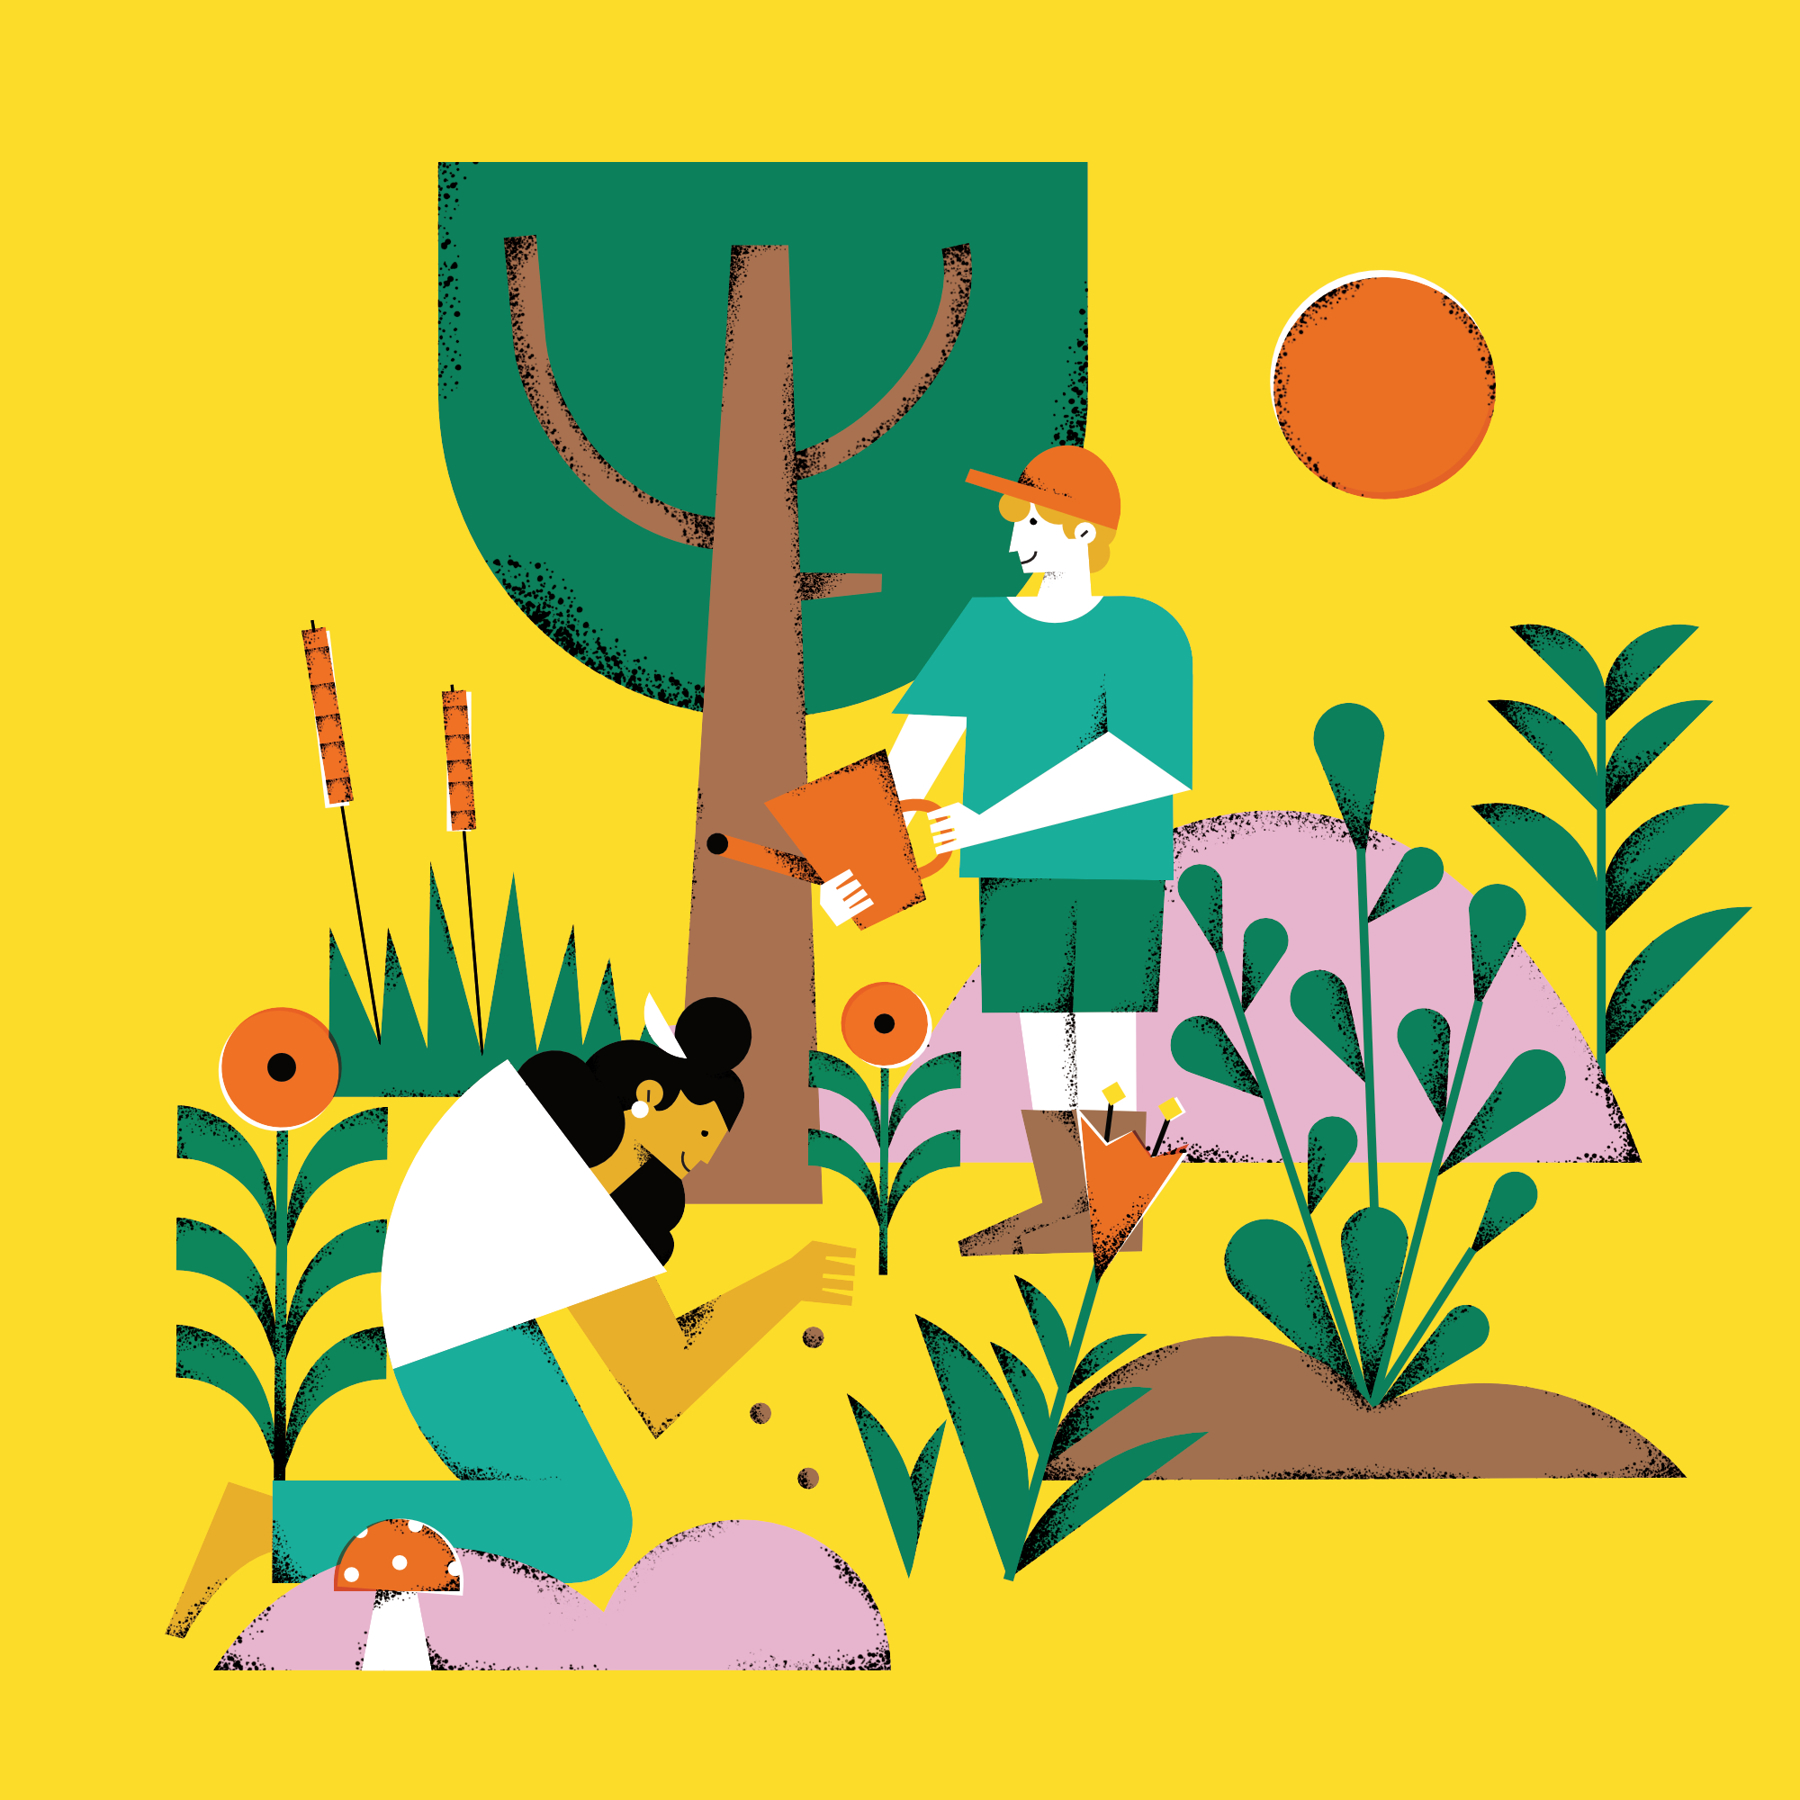
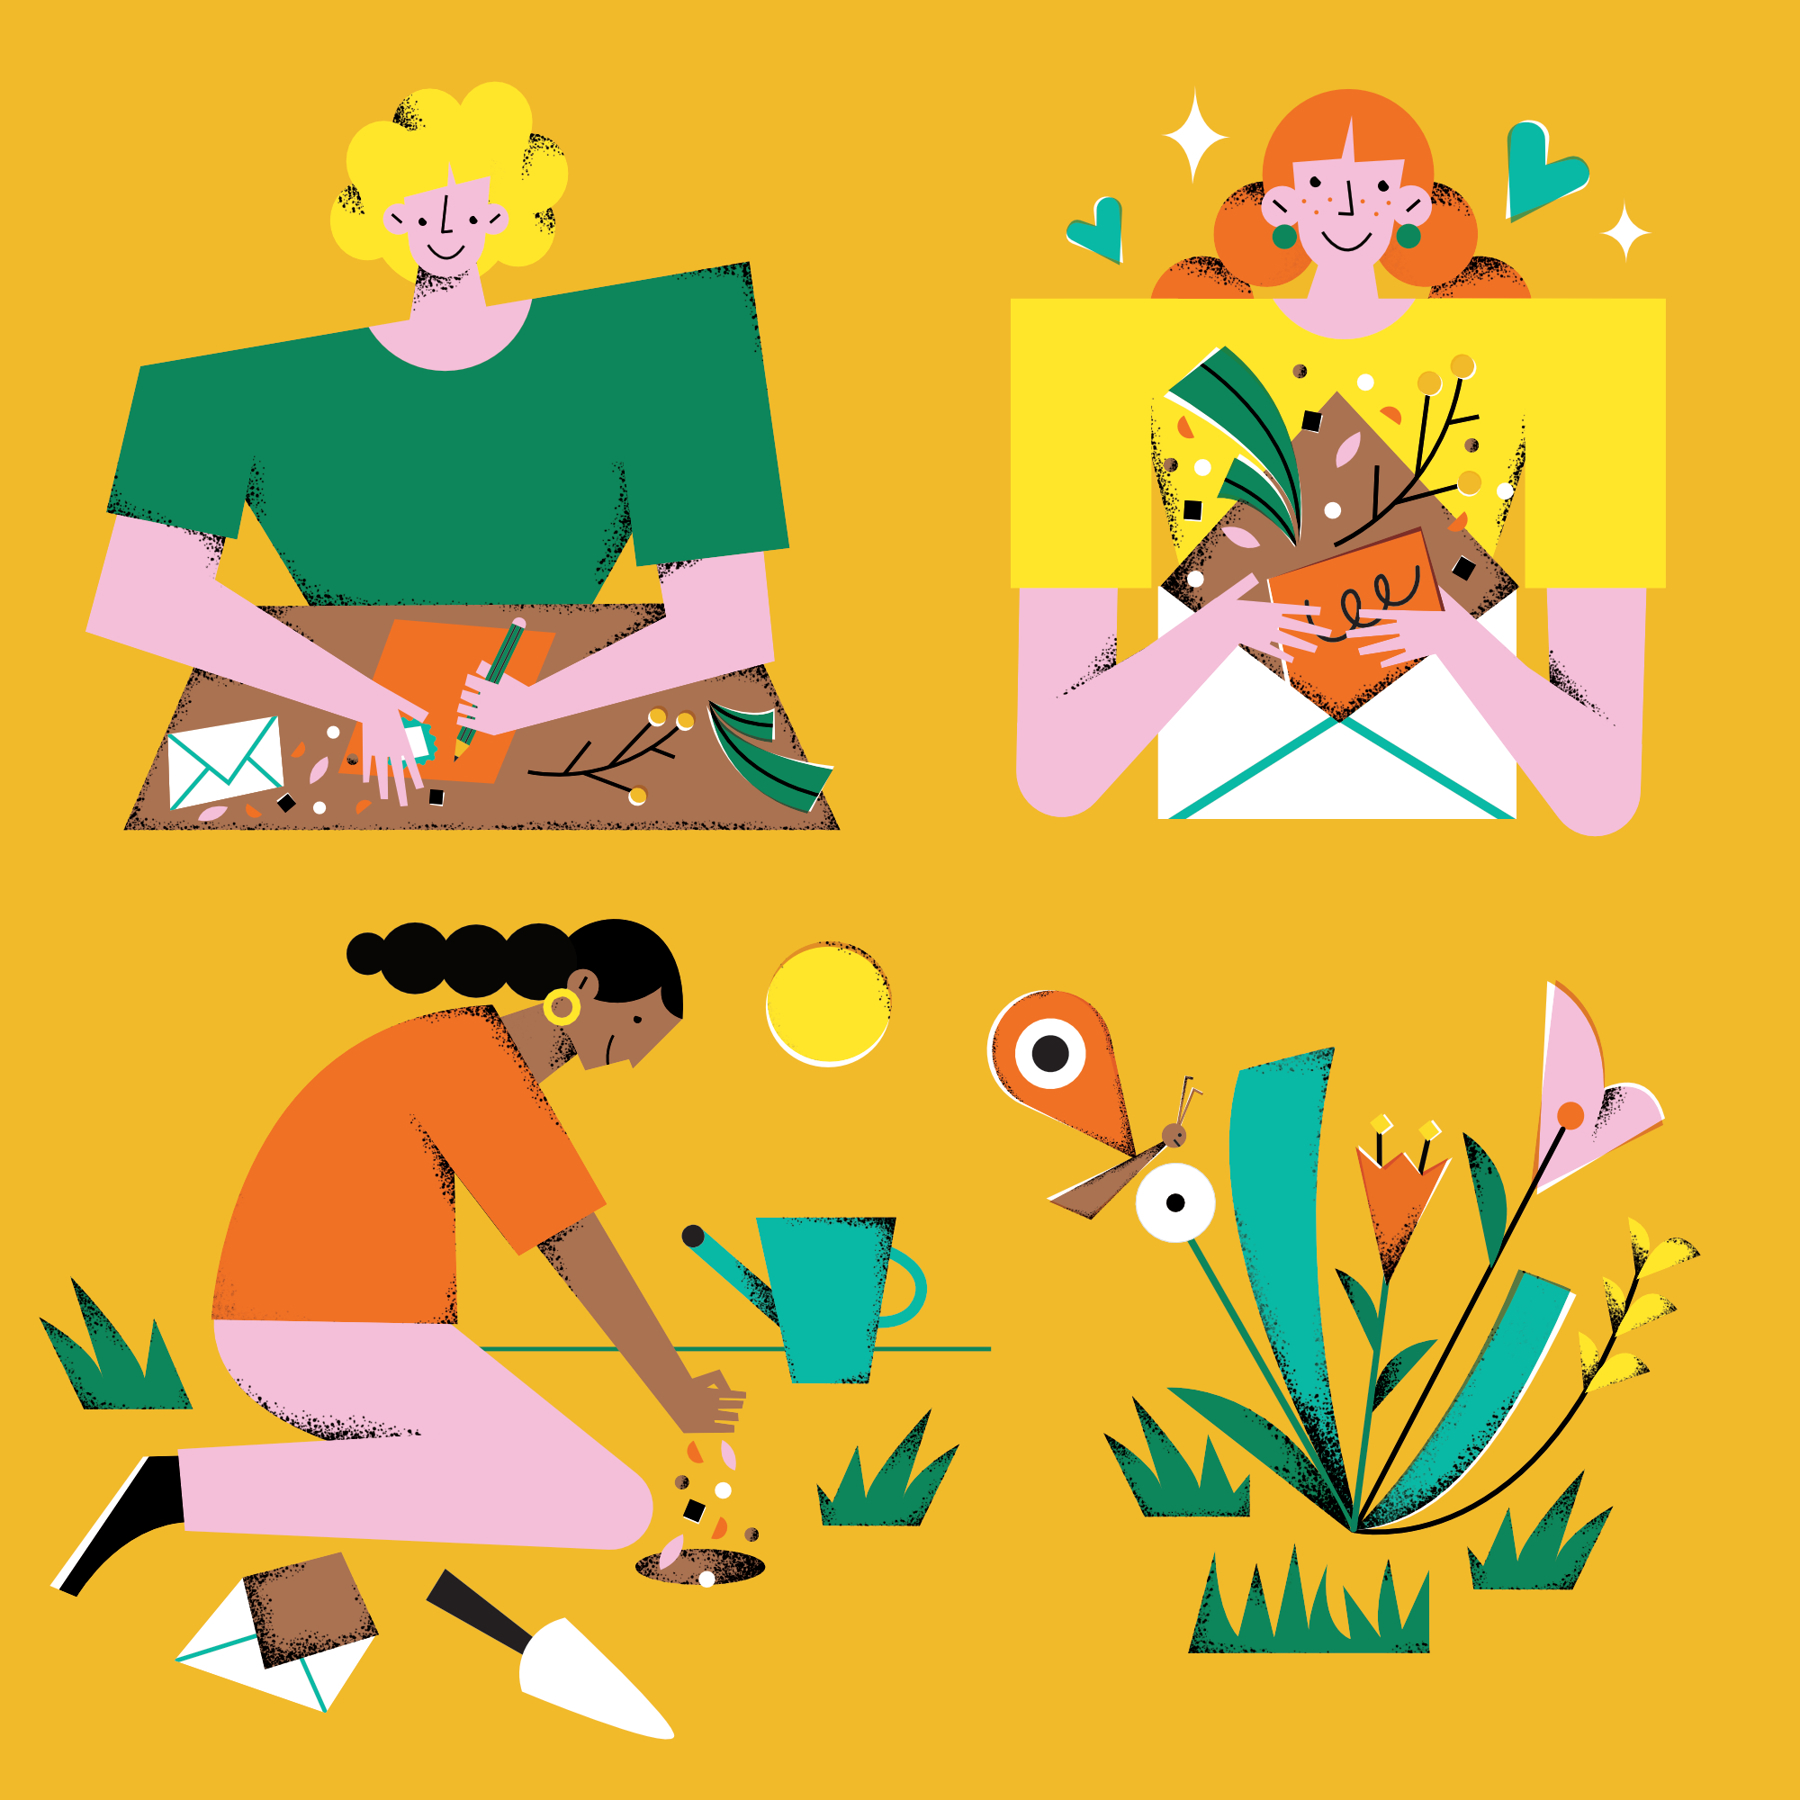
Green Champions are young people from Scout or school groups who have completed a five-step programme that makes a positive impact in their community. As part of the programme, they’ll improve habitats for birds, bugs, and bees; learn about the importance of trees and plants; or take positive steps towards recycling and reducing waste.
Participants take part in a programme led by our green volunteers. After this, they have three months to complete a short project that will have a positive impact in their community. We’ll support you to help them achieve this. When it’s done, we’ll award them a certificate and stage one of their Community Impact Staged Activity Badge to recognise their efforts to improve the place they live.
A Green Young Leader is an Explorer Scout Young Leader who has completed a two night residential course that gives them the skills to lead the Green Champion programme for a section they support.
A deep dive into the programme
Birds, bugs and bees is about understanding how wildlife works together with plants, the weather, and the landscape to form a bubble of life called an ecosystem. In this theme, you’ll explore why animals are useful and what they need to live.
You’ll get stuck in by improving local habitats (places that animals and plants live) to make sure lots of different plants and animals can live there happily.
You can focus on birds, bugs, or bees – it may depend on where you do your sessions.
Growing green is about understanding how plants work with animals, the weather, and the landscape to form a bubble of life called an ecosystem. In this theme, you’ll explore which plants are good for nature. You’ll also find out about invasive species: when people introduce new plants or animals that harm an ecosystem.
You could get stuck in by planning, growing, and caring for your own plants, or you could help out at a local nature reserve.
Plastic pollution is about understanding how the items we use in everyday life affect the world. In this theme, you’ll explore what happens to items after they stop being useful to us.
You could get stuck in by finding out about recycling in your local community, taking part, and encouraging others to get involved.
This may be a good theme to choose if you want to stay close to home but don’t have a lot of green space nearby. You’ll still get to spend time outdoors as much as possible.
- Identify need. Investigate what issues and challenges exist in your chosen community – it could be local, national or international.
- Plan action. Decide what issue your section should take action on and what you want to change. Talk to your section about what actions you would like to take.
- Take action over three months. You should:
-
- spend at least four hours personally taking action on your chosen issue. You can achieve more impact by spreading your time out over a month, instead of doing it all in one go.
- involve others in the action. Work in a team with your section and preferably people in the community you are trying to help.
- Learn and make more change. Discuss with your section what you’ve learned, how you have made people’s lives better, how taking action has developed you, and what you could do to help even more people in your chosen community.
- Tell the world. Help other people to understand why the issue you took action on is important, what you did and how they can help.
You can access them as digital resources and they’re also available as PDF files.
The five pathways to nature connectedness
We are part of nature. As humans, we have a special relationship with the natural world: our actions affect the health of our planet, and nature is really important for our wellbeing too.
Connecting with nature can make us feel good, give us the chance to exercise, and let us breathe fresher air.
When we talk about connecting with nature, it’s not just about being outdoors – it’s about how you engage with nature while you’re there. What you do is more important than how long you spend doing it. It’s a bit like being in a hospital – it’s not the fact that someone’s spending time there that makes them better, it’s the activities that happen and the things they do during that time.
When we look at key mental wellbeing outcomes, connecting with nature brings greater benefits than just being in contact with it. In fact, studies found that the time people spent in nature wasn’t significant. The sense of connection and feeling part of nature were more important.
When the University of Derby did some research, they came up with ways that people can build a better relationship with nature – a relationship that helps themselves and the planet. They suggest five ways to be closer to nature and improve wellbeing:
- Sensory contact with the natural world.
- Taking time to appreciate the beauty of nature.
- Thinking about the meaning and signs of nature.
- Finding an emotional bond with, and love for, nature.
- Showing compassion and care for nature.
When you’re introducing this topic to others, you could start by asking everyone to think about why nature is important to the planet and to themselves. You could:
- Host a group discussion outdoors, maybe around a campfire or in a sunny, grassy area.
- Create a graffiti wall. Encourage people to write or draw their ideas on big pieces of paper, a whiteboard, or sticky notes stuck on a wall.
- Make paper planes and write ideas on them. Encourage everyone to throw their paper plane to someone else so they can read out the idea.
People might suggest that nature is important because being outside can improve people’s wellbeing or encourage them to be more active. Others might talk about how biodiversity keeps our planet healthy.
Next, encourage everyone to think about why people might be less connected to nature these days. People might mention the industrial and technological revolutions that have enabled more jobs or tasks to be done remotely or by machinery. They might also think about how technology means there’s lots of competition for people’s attention, or how there are now more entertainment options available indoors. People spend time inside in their own homes (with televisions, laptops, phones, or books) and in local spaces (like shopping centres, cinemas, or community centres).
The pathways to nature connectedness are about people noticing and appreciating nature, recognising how important it is, and caring for it.
You can explore each of the five pathways (contact, beauty, meaning, emotion, and compassion) by doing the following:
- Contact: use your senses to tune into the sights, smells, sounds, tastes, and textures of nature.
- Emotion: feel joy, wonder, and calm when interacting with the natural world.
- Beauty: use the art and music of nature to inspire creativity and celebrate what nature means to you.
- Meaning: notice how nature appears in songs and stories, poems, and art, and celebrate the mystery, signs, and cycles of nature.
- Compassion: take action to look after the natural world.
You could explain the five pathways by playing a matching game. Write the names of each pathway and their definitions on different pieces of paper hidden around a space; teams can then work together to find the pieces and match them up. You could change things up by swapping definitions for actions you could take, for example, writing ‘go on a litter pick’ instead of ‘take action to look after the natural world’. You could also play your own versions of charades, get people to draw the names of the pathways for others to guess, or ask people to explain each pathway without using certain keywords.
We’ve included some ideas below, which you can use to help everyone put each pathway into practice.
You can use these ideas when you’re running the Green Champions programme (you’ll find some specific ideas in the activities), as well as when you’re planning and running other outdoor sessions.
When you’re outdoors, encourage everyone to use all their senses – what can they see, hear, smell, feel and taste?
- Do trees or plants have a smell? What do they smell like?
- Are there things that they can touch? Make sure it’s safe to do so and won’t cause any harm.
- What do things feel like? Are they soft, hard, smooth, or prickly? Different things have different textures. Can people feel the difference between bark on a tree, a smooth blade of grass, and a cool pebble?
Get everyone to pause what they’re doing for a minute, and just take in what’s around them. They may want to close their eyes to help them tune into their other senses.
- Can they hear any birds singing?
- Can they feel any breeze on their skin?
You might not be able to taste things, unless you’ve got an adult who knows their stuff with foraging who can identify safe things to eat, like blackberries and wild garlic. Even if you don’t have a foraging expert, you could try to help everyone to tune into this sense in other, safe ways.
- Can they taste the air outdoors, or does it have no taste?
- Does the air feel different to breathe?
Make it accessible:
- If you or anyone in your group can’t use (or has difficulty using) any of their senses, for example, if they have hearing loss or sight loss, think about how you can make sure they’re included and comfortable. How do they experience nature?
- Some people might not be comfortable touching or smelling new or different things, and that’s OK. Everyone can go at their own pace – they don’t have to do anything they’re not comfortable with.
Talk about what it feels like being outdoors in nature. Everyone will be different, but it might make them feel joy, calm, wonder, or awe. How does it affect people’s energy levels?
- How did people feel before going outside? How do they feel now? Did they notice a change?
- Ask people to imagine a calm, wonderful, or awe-inspiring place – was it somewhere in nature?
- What does it feel like to watch wildlife? Did people enjoy watching anything in particular? Do some plants and animals bring more joy than others?
Talk about how everyone feels about damage to the environment.
- How do people feel when they see litter or learn about ways humans are damaging the planet?
- What does it feel like to take action to help?
Encourage everyone to take their time when they’re spotting and identifying nature. Can they notice different colours and shapes? Can they spot any patterns? People could notice the pattern of veins on a leaf or the different colours on an insect, for example.
Photos can be a great way to capture the beauty of nature. The group could take some photos while they’re exploring. They could try to capture something from a new angle, or do some close-up photography that brings out hidden details.
Talk about what nature means to everyone.
- Do they have a favourite place or a favourite view? Does anyone have a favourite memory of time they’ve spent in nature? If people haven’t spent much time in nature before, they may be making their favourite memory right now!
- Think of a famous painting or poem – is it about nature?
Talk about the seasons when you’re doing your activities.
- What season is it now? Look around – what clues does nature give people?
A lot of the activities in the Green Champions programme are about how people can care for the natural world and take action to help nature.
- Make sure everyone is involved with your project and understands what they’re doing and why.
- Talk about how a big part of being a Scout is being kind and helpful – this goes for the planet as well as people.
- When you’ve finished the programme, help everyone to think about the difference they’ve made. How they can continue to care for nature?
What’s next?
If you’re smashing your way through your missions, think how you can put a green twist on them. There’s a great chance to do this in mission four, when you’re organising part of your section programme and can really make it your own.
In and beyond the Green Champions programme, encourage everyone to:
- think of different ways to bring the pathways into your sessions
- build better relationships with nature
- explore how classic Scout activities that are outdoors and adventurous can bring people closer to nature.
Planning your programme
Not sure what theme to choose? Play ‘Go green’ to learn about each theme and vote for your favourite.
First things first, you need to decide which of the three Green Champions themes your group is going to work towards. It’s important that:
- Everyone gets involved in deciding what you do.
- The theme is suitable for your location (for example, if you don’t have access to lots of outdoor space to interact with animals or grow plants, you may choose to focus on tackling pollution).
- Your programme makes an impact in your local area.
There are lots of ways to discuss and decide on a theme. We’ve provided one idea (‘Go green’) to get you going.
To help young people get the most from their experiences, you should begin by considering what you’d like them to learn or achieve. You can then work backwards from your desired outcomes when you’re designing your plan – which will help everyone to achieve those outcomes throughout their adventure.
If you don’t focus on outcomes from the beginning, it’s easy to end up planning a programme that’s just full of activities that you think young people would like to do – these won’t necessarily teach them new skills.
The outcomes you plan for can be hard or soft.
Hard outcomes are the practical things you’re doing, like:
- Cooking a meal
- Pitching a tent
- Using tools
- Reading a map
- Packing a bag
- Lighting a fire
- Tying a knot
Soft outcomes are the skills, knowledge or experience you’re developing. Every activity on the Scouts website has two soft learning outcomes associated with it, from a list of 22 (you can find the complete list of these under ‘outcome’ in the Activity Finder).
Start by identifying the specific outcomes you’d like to achieve (instead of making a general statement of intent). For example, instead of saying ‘We want to go on a canoeing camp’, start by saying ‘We want to plan a canoe journey, improve our paddling skills, and camp overnight’. This way you can break the adventure down into chunks of skills.
When you do this, you make use of valuable opportunities for learning. You’ll be more prepared and you won’t end up doing things for people when they could do them for themselves. It also helps you plan opportunities to use the Scout method, for example, by working in small teams, learning by doing, taking responsibility, and developing leadership skills.
There are many different learning models and methods that you could use to structure a learning experience. Teachers and coaches often use quite advanced models, but even a simple structure where you plan, do, and review can be effective.
The cycle
You can use the plan, do, and review structure for a whole adventure (like an overnight expedition). At the same time, you can apply the structure to specific tasks or problems within the experience (for example, cooking dinner or pitching a tent).
Plan
When you plan, you consider all the relevant information you have and decide what you’re going to do. You can use open questions to help you make a working plan.
Do
Now it’s time to follow the plan and adapt it where needed. You can see the plan, do, and review structure within the adventure itself– especially if an adventure is made up of lots of smaller challenges and decisions to be made.
Review
You review by considering what’s happened and actively reflecting on it – you’re re-viewing the experience by looking at it again from a different perspective. Think about what worked and what didn’t work, any changes you had to make during the adventure, and why things happened as they did. Then it’s time to think about how you’ll apply everything you’ve learned next time.
|
Plan |
Do |
Review |
||
|
Problem to be solved – increasing the number of bees in your local area. |
||||
|
Structure the session |
Plan |
Do |
Review |
Reflect on the session |
|
Who? What? When? Where? Why? How? |
Choose where to put your bee hotels. Decide on the materials you’ll use to create them. |
Build a bee hotel. |
Evaluate the success of the hotels. Did they increase the number of bees? Discuss what you could change to make a bigger impact on the bee population next time. |
What worked well? How would change the plan next time?
|
|
|
During the activity |
|
||
|
Before, during, and after the activity |
||||
To create an effective plan, you need to identify what you need to know before you get stuck in. Asking open questions can help you figure out what you need to know before you begin your adventure. It doesn’t matter whether you’re an instructor teaching a specific skill, a group planning an adventure, or a person tackling a challenge that’s popped up in the middle of an experience – you’ll ask similar questions.
For example, if you were working on the growing green theme and creating planters from recycled materials, you might think about:
|
Who? |
|
|
What? |
|
|
When? |
|
|
Where? |
|
|
Why? |
|
|
How? |
|
Budgeting is an important and useful life skill. When you get your head around budgeting, you’ll be able to manage money and make the most of every penny. At Scouts, being able to budget is helpful for planning and running programmes, activities, and events. When budgeting for your Green Champions project, think about:
- How much money do you have available for the programme?
- Are you able to fundraise?
- Do you already have free access to any resources or equipment ?
- Could you get any resources or equipment through donations?
- What are the core, non-negotiable costs of running each activity? For example, if you have to purchase peat-free soil, this is a core cost.
- What things are just nice to have? These are things that you could complete the activity without.
We can’t predict the future, so it’s always possible that something beyond your control might disrupt your programme (for example, a sudden change in weather or a surprising number of young people turning up).
At the same time, you can plan how you’ll handle things that might happen. If you don’t know what the weather will do, for example, you could make different plans for bright sunshine and pouring rain. This will make running your session less stressful, and will help make sure that your programme is brilliant – even if the unexpected happens.
When planning sessions:
- Always plan more activities than you think you’ll need. If people begin to lose concentration, or if they finish the activities quicker than you expected, you’ll have something else to go.
- Think about your setting. If you plan to spend a session outside, keep an eye on the weather and have an indoor plan ready just in case there’s a sudden rainstorm.
- Plan ways to change the level of challenge of each activity. People learn and pick things up at different rates. If you’ve planned adjustments, you’ll know how to support anyone who’s finding it tricky and keep anyone who whizzes through engaged.
- Remember that repetition can be good. It’s important to run a balanced programme and introduce young people to as many new activities as possible – but people like routine and are likely to enjoy repeating their favourite games or activities.
It might help to structure your sessions in a table like this:
|
Key information |
||
|
Session theme |
For example: Growing green – take action |
|
|
Date |
|
|
|
Start time |
|
|
|
End time |
|
|
|
Leaders |
|
|
|
Young people |
Use this space as a register to write down the names of all young people who attend the session |
|
|
Session plan |
||
|
Time |
Activity |
Equipment |
|
For example, 6.45pm to 7pm |
For example, people arrive. Play chair football as everyone enters. |
For example, footballs and chairs |
|
|
|
|
|
|
|
|
|
|
|
|
Once you’ve planned your session, you can risk assess it. You should also be risk assessing throughout the session. Follow the guidance about risk assessments on our website and refer to the ‘managing safety’ section of this resource pack.
Running a community impact project
The steps of the Green Champions programme match up with the requirements of stage one of the Community Impact Staged Activity Badge.
At Scouts, we believe that successful community impact projects are four things. They’re:
- Relevant to communities. This means that the community affected by the project identify and recognise the issue the project tackles.
- This means they make genuine changes to the lives of others and that people’s actions contribute to societal change – they’re not just an activity that’s nice to do.
- Good for young people. This means that they help young people to develop skills through actions that are challenging and fun.
- Embedded, progressive, and habit forming. This means that action isn’t just a one-off thing – it’s sustained over an extended period of time and gets more sophisticated as people grow and develop skills.
- Identify and understand the need.
You’ll want to do activities that help everyone investigate the issues and challenges that exist in your chosen community. What needs to change for your chosen community?
- Plan action.
You’ll want to do activities that help everyone decide which of the issues they want to take action on and how they plan to do it. What action will lead to the change the young people want to see?
- Take action over 3, 6, 9 or 12 months (the time increases with each stage of the badge).
Now it’s time for everyone to roll their sleeves up and get stuck in. You’ll want to follow your plan to take actions that make real change in response to the need that the young people identified. Just make sure what you’re doing is challenging and fun – does it give everyone the chance to develop their skills?
- Learn and make more change.
You’ll want to do activities that help everyone reflect on what they’ve achieved, how they’ve grown as a result, and any further action they might take. What has everyone learned? Are they likely to take more action?
- Tell the world.
You’ll want to do activities that help everyone shout about what they’ve done. It’s not just a chance to celebrate what people have achieved – it’s a chance to tell others to encourage and inspire them to take action as well. How can you help rest of the world to see how impressive your project is? How can you show people that Scouts is relevant to modern society?
After all that? It’s time to award everyone with their Community Impact Staged Activity Badges.
You can tackle most requirements in a single session, but requirement three (take action) needs to happen over several months.
Just like with the other requirements, using a plan, do, review structure is a great way to approach your take action project. You just need to make sure you continue to review, then plan, then do, throughout your months of taking action.
A great way to do this is by creating a stop, start, change document. This is as simple as it sounds – it’s a place to record things to stop, start, and change. If you can, stick it somewhere in your meeting place so everyone can review their actions and plan new ones every time you meet.
In each of the three sections, identify what you should:
- You’ll want to stop anything that isn’t helping your community impact project. For example, if you’ve been handing out leaflets by a community centre and have found that not many people are using them, you might want to stop handing out leaflets there.
- You’ll want to start things that could have a positive effect on your project. For example, you might get more visibility or engagement by running an open evening for people to come and learn about what you’re doing.
- You’ll want to change things that are working, but that you could do more efficiently (or to a higher standard). For example, if you’ve set up planters in a park and one person is feeding and watering them every few days, you might recognise that’s a lot of work for just one person! Why not create a rota instead, so this task is split between different people?
People can add suggestions to each section of your stop, start, change document. You can come together, consider all the possible actions, and make them happen as you keep learning and improving your project.
When you have a project plan in place, make sure it’s challenging and relevant for the group taking part. Ask yourself:
- Is it age appropriate?
- Is it the right time of year for this project? You could think about the temperature, light, and whether people and places are available when you need them.
- Is there a mix of activities?
- Have you strayed too far from the original plan?
- Is it inclusive and accessible?
- Is it safe?
- Will people have fun?
Managing groups outdoors
Scouts is about adventure, fun, and building skills for life – and we try to do as much of this as possible outdoors. Running sessions outside brings another set of considerations, so we’ve put together some handy tips to help you get the most of outdoor activities while managing risk.
Making sure that you’re keeping everyone safe starts with making sure everyone stays part of the group. When enjoying outdoor adventures, people can easily drift off – you need to keep everyone together so that they’re supervised.
It’s always a good idea to place a leader at the back of the group to give people encouragement and to make sure you definitely know where the back of the group is.
Some other ways to avoid people drifting off include:
Roll call or numbering off
Gives each young person a number. When you should ‘roll call!’, the young people shout their numbers back in order.
This helps you to check that you have everyone, but also makes sure people are paying attention. You can make it more fun by challenging the group to see how loud or quickly they can complete the roll call.
Buddy system
Give each child in the group a buddy. Buddies stick together at all times and look after each other. You’ll need to clearly explain what buddies do and make sure everyone understands – and you’ll need to think carefully about the people in each pair.
Easy identification
If you ever see Scouts out and about, they’ll probably be wearing a brightly coloured scarf. This isn’t just because they’re proud to be Scouts – it makes it easier for leaders to identify the young people that are part of their group. You can apply this principle with hats, scarves, rucksacks, or waterproofs.
However you use these different techniques, it’s vital that you carry out regular headcounts to check that everyone is where they should be.
No matter how detailed and considered your session plan is, there are likely to be moments of unscheduled free time. For example, unscheduled free time often happens when a group has finished an activity, but they have to wait for another group to finish before everyone can move onto the next task. When you have nothing to do, it’s easy to get restless.
Sometimes there’s nothing you can do about some people in the group taking more time than others. Sometimes you might want to slow down the people who are faster by giving them an extra challenge. It’s up to you how you do this – you could give them something extra to carry on a hike or give them fewer helpful resources for a puzzle-solving challenge, for example. You could also give everyone a longer challenge that they can work on whenever they have time between other activities.
Games and songs
Play a game that keeps the group together. Here are a couple of five-minute fillers (some require props, but others can be played at a moment’s notice):
- Monster in the middle. The group hold hands to form a ring – they’ll pretend this is an electric fence. In the middle is a monster – you! The group move so that the monster never touches the fence. The monster carefully picks a path to the next destination (occasionally making strange noises and jumping towards unsuspecting members of the electric fence).
- Knights, dragons and shields. Everybody is a knight. They secretly pick another person in the group to be a dragon, and a second person to be their shield. When the leader shout ‘Go!’, everyone should move to keep their shield between themselves and the dragon. Everyone has different dragons and shields, so people have to stay on their toes.
- Zip, zap, boing! In a circle, pass the word ‘Zip’ from person to person with an appropriate hand action (such as pointing). If someone says ‘Zap’ instead of ‘Zip’, then the direction changes and everyone should start passing ‘Zip’ the other way around the circle. If someone says ‘boing’ then the next person is missed out. Got that?
- Scavenger hunts. Prepare a list of cryptic clues, then challenge everyone to find objects matching your descriptions and bring you the evidence.
- Juggling balls. Hundreds of games can be played with a set of juggling balls. ‘Team juggle’ requires the whole group to pass the ball in a sequence. ‘Object tag’ is similar to normal tag but you become ‘it’ if the ball hits you, while in ‘human chains’, players have to pass the ball from one end of the chain to the other in the quickest possible time.
Songs that are based on repetition are ideal for keeping a group together. The format is simple: you sing or shout a line, and the group sings or shouts it back at you. Try searching for songs such as The Crazy Moose or The Little Jeep.
You could also try activities where everyone has to follow a leader – they can’t follow the leader if they can’t see them, which means everyone has to stick together.
You’ve split everyone into small groups, but there’s a world out there for them to disappear into. You need to keep them safe, and you also need to get back on time. Boundaries, time limits, and recall will help.
Boundaries
Use boundaries to define the area a group is allowed to explore. You could set physical boundaries, for example, between this wall and that tree, without crossing any fences, or only outside. You could also use sight lines, for example, saying people can go anywhere as long as they can still see a rucksack, a set adult, or the picnic area.
Timekeepers
It can be easy to lose track of time when you’re having fun! Choose one person in each group to act as a timekeeper – it’s their job to make sure their group gets back on time. You could give them a stopwatch or a countdown timer, but a normal watch would work too.
Recall
Choose a signal that everyone can recognise to mean that it’s time to return. You could use a whistle, the chiming of a clock tower, or standing with your arms stretched out, for example. You might want to reward the first two groups to get back to encourage everyone to pay attention for the signal.
Make sure everyone goes to the loo
If you’re about to leave somewhere with toilets, take advantage of the facilities before you head off. It’s much easier than stopping on the way or holding out until you arrive at your destination. Make sure everyone visits the toilet, even if they’re not sure if they need it.
Take spare kit
You’ll probably want to include essentials for doing group work (pencils, erasers, pencil sharpeners) as well as other extras. For example, think about taking bottles of water, a hat and gloves (depending on weather), emergency ponchos (a roll of bin bags can prove very adaptable), or spare snacks. If you’re taking part in an adventurous activity, then hair bobbles are also useful.
Delivering a great session
Sometimes a leader (or two) will run activities, and sometimes a qualified instructor will deliver parts of your session – it’ll probably depend on the activities you’ve planned. Whoever’s taking the lead, you should make sure you know what each person is responsible for.
The person delivering the session
- Leads the session
- Provides timings for the session
- Teaches or coaches participants
- Manages safety of active participants
- Makes sure that active participants are engaged and on task
- Delegates roles to suitable people
The people supervising the session (usually adult volunteers)
- Supervises group members not actively participating
- Handles any discipline issues that arise with the group
- Does any specific tasks agreed with the person delivering the session
- Takes an overview of the safety of the activity
For some activities, you’ll have more adults to supervise young people (for example, when you do your risk assessment for an adventurous activity, you might decide you need more adults than you’d need to supervise the same number of young people doing an indoors craft activity).
- In an archery session, another leader should supervise those in the waiting area.
- On a sensory trail, another leader could supervise participants on a specific part of the course.
- In a climbing session, another leader should make sure that people who aren’t participating stay in the safety area and keep their helmets on.
- If individuals are presenting challenging behaviour that’s disrupting the session or causing a safety concern, another leader should deal with this. They’re responsible for any disciplinary actions.
The first 10 to 15 minutes of your session should be spent telling the group about your plan for the session. Tell them how the session will work and about the rules and safety precautions.
It’s up to you how you communicate with your group. There are six core pieces of information you must make sure that the group understand; we refer to them as the 5 Ws and the H. The five Ws are who, what, where, when, and why, and the H is how. You should already have answers to each of these question words from the session plan you created. Try to cover all of the topics in your introductory chat with the group.
|
Who? The people. |
|
|
What? The activity. |
|
|
Where? The location. |
|
|
When? The timings. |
|
|
Why? The objectives. |
|
|
How? The process. |
|
When delivering a session, remember these five essential elements:
- Supervise the group
Good supervision comes down to four things – just remember to clap:
- C Give clear instructions and check understanding.
- Line of sight. Try not to have your back to anyone and use boundaries.
- A Stay away from obvious hazards or distractions, and give people with free time jobs to do to keep them engaged.
- P Stand where you can minimise risk – for example, next to the trip hazard. Move so you can see what is happening.
- Use effective demonstrations
You couldn’t start building a house if you had no idea what a house was supposed to look like. Most people want to see something done before they have a go themselves. It helps the brain to see how the theory works in practice and means that fewer misunderstandings happen because of the language you use.
A good demonstration has five stages that pass on information in three different ways:
- visual ways. This means showing learners how to do something by demonstrating or modelling it.
- auditory ways. This means explaining or telling leaners how something works step by step.
- kinaesthetic ways. This means giving people the chance to learn by doing and apply learning for themselves.
There’s an easy way to remember these stages, you just have to effectively demonstrate your ideas:
|
|
What you’re doing |
For example… |
|
Introduce |
Give some context to help people understand what’s happening. |
You could say: ‘We’re going to learn how to pick up and hold a bow, load an arrow and fire it at the target.’ |
|
Demonstrate |
Show the skills people will use from start to finish without talking. Emphasise your movements by making them slow and over the top. |
Calmly and deliberately stand on the shooting line, pick up the bow, knock an arrow, draw, aim and release. |
|
Explain |
Repeat the same process but explain what you’re doing at each step. |
Repeat the same process but explain what you’re doing as you show each step. |
|
Apply |
Get the group to apply their knowledge to reinforce their understanding. You could ask them to tell you how to do it or do the same actions in the air, for example. |
You could say: ‘Everybody find some space and copy what I do as if you were holding the bow.’ or ‘As a group, give me instructions on how to load and fire the bow.’ |
|
Summarise |
Sum everything up and tell people what will happen next. |
You could say: ‘Excellent, now you can have a go too. We’re going to have two people at a time.’ |
- Use simple clear instructions
People can only hold around five pieces of new information in their head at any one time, so it’s important to break instructions down into clear simple stages. Don’t add unnecessary detail when it’s not needed – you can teach everyone more or answer questions when everyone understands what they are doing.
Remember to kiss – keep it short and simple!
For example, here’s a clear way to demonstrate putting on a harness. A leader should tell everyone:
- Now we’re going to put on our harnesses.
- Put your left foot into the blue loop.
- Now put your right foot into the red loop.
- Grab the black waist band and pull it up like a big pair of pants.
- Find the buckle on your right.
- Pull on the tab to tighten the waist.
- Do the same for your leg loops.
In contrast, talking at people and overloading them with information makes it difficult to follow along and understand.
Avoid long, rambling explanations. Notice how much harder it is to follow this example:
‘The next thing we’re going to do before we put on our chest harnesses and helmets is going to be to put on our waist harnesses. These waist harnesses are made of super strong nylon that could hold up an elephant, so you’ll be fine. They also have ABS buckles which make them really easy to do up. First, you’ve got to stick your feet into the two smaller loops which are called leg loops because they go around your legs…’
- Be positive
The way you word your instructions makes a big difference. Try to be positive in the information you give – it’s reassuring and sets a standard for the behaviour you’re looking for. Tell people the positive things you want them to do – don’t give them ideas of things you don’t want them to do!
Positive instructions
- Wait for a thumbs up before you start to climb.
- Walk when you’re collecting arrows to make sure you don’t trip.
- Everybody look at me and listen for the next instruction.
Negative instructions
- If you start before I say so then you’ll have to wait until the end of the group.
- Don’t run up to the arrows because you might trip and stab yourself in the eye.
- Everybody shut up – I’m telling you what to do.
- Check understanding
Never assume everyone understands your instructions. Always check that the group understand what to do and when to do it.
Good ways of checking understanding include:
- Asking short, fact checker questions, like ‘Everyone stand on the red line. Which colour line should you stand on?’
- Asking deeper questions to engage the group with the information, like ‘When do you think we should check our harnesses are still tight?’
- Getting everyone to practise, like ‘We’re going to play a practice round of stuck in the mud – this one doesn’t count.’
- Asking people to summarise the information, like ‘In pairs, summarise what you need to do in one sentence.’
Managing safety
Safety doesn’t have to be intimidating. To manage risk effectively, you just need to be prepared. A large part of staying safe is about being organised, planning, asking the right questions, and doing things that promote safety. This doesn’t take away from the group experiencing an appropriate sense of adventure.
This guidance will help you to put the Scout motto into practice before, during, and after sessions.
First things first, you need to make sure you have enough adults. The number of adults you’ll need depends on your section and how many young people you have.
Remember, these ratios are the minimum. Your risk assessment for the activity may show that you need more adults than the minimum to keep everyone safe.
Before you begin, it’s a good idea to check you’re using the most up-to-date ratios.
All meetings, events, and activities must have an identified leader in charge who’s responsible for overseeing the safety aspects. Their responsibilities include doing headcounts, completing registers, allocating specific roles to other leaders, and making sure other leaders are aware of their responsibilities.
The best way to do organise the leader in charge is for all of the leaders involved to agree on one person who’ll step up and take on the role. In the context of safety, the leader in charge doesn’t necessarily have to be the person running the event or activity. The idea is to have someone whose primary focus is the safety of everyone taking part.
The InTouch system is designed to manage communications, including in the event of an emergency. It manages communications between leaders, lead volunteers, parents and carers, and young people at any Scouts event or meeting (including weekly section meetings). The InTouch system creates clear communication channels between the people at the event and people who aren’t there. You should make sure everyone involved knows about the system in advance.
It’s a good idea to give parents or carers the names of the membership team and a contact number for them. Often, parents and carers only know adult volunteers by the name they use at Scout meetings (for example, Akela at Cubs). This can make it really difficult to find contact information for leaders if parents and carers need it. Giving parents and carers contact details is especially important when you’re meeting away from the usual meeting place or when there are changes to the programme.
When working out the InTouch system for an event or activity, think about:
- How the leaders at the activity will communicate with parents and carers at home (and vice versa).
- How leaders will communicate with young people completing an activity independently using a passport (and vice versa).
- How young people taking part in an activity will communicate with parents and carers (and vice versa).
- How leaders present at the activity will communicate with lead volunteers (and vice versa).
Make sure everyone involved knows about your clear channels of communication before the event begins.

Never be afraid to change or stop an activity if risk increases.
Keep your cards close
If in doubt, we have different coloured cards to support leaders in delivering a safe Scouts experience for everyone.
- Use the safety checklist to help you plan and risk assess your activity.
- Our code of practice for adult leaders is the Yellow Card.
- For young people and Young Leaders, the code of practice is set out in the Orange Card.
- If you want safety guidance and emergency procedures, refer to the Purple Card.
- To learn about our policies on alcohol, use the Green Card.
Risk assessments should be a useful overview and assessment of the potential hazards for an activity. They should consider the environment, equipment, and resources you’ll use.
Risk assessments should be useful, practical procedures for minimising risk. The whole point of completing a risk assessment is to make sure that you’re aware of any potential risks and that you’ve considered ways to reduce these risks. You must then communicate your risk assessment, in the most appropriate way, to all those involved or taking part. Risk assessment shouldn’t be filed away somewhere – keep them around so you can share them with everyone taking part.
Use the five steps of risk assessment:
- Look for the hazards. Think about any objects or conditions that could cause harm.
- Consider who might be harmed and how. Don’t forget to consider people outside your planned activity, like members of the public.
- Evaluate the risks. What controls and safety measures are in place? What additional controls do you need?
- Record and communicate your findings. You’ll probably need to share rules or instructions with volunteers and young people. You may want to write up a checklist, as this is likely to be useful for other activities in the future too.
- Review. During the activity, check whether conditions that might affect risk have changed. After the activity, talk about what could have been safer or better.
A hazard is anything that could cause harm. Hazards can be unsafe conditions, like cables across the floor, a slippery or uneven surface, or the weather. Unsafe acts could be a hazard as well.
You should look at all your activities, including non-routine tasks. Look at what actually happens rather than what should happen. Look for the hazards that are really obvious, not every single little thing.
You can use the safety checklist as a starting point – it includes a long list of common hazards. Add to this list as you talk with other leaders involved in the activity.
First, consider who is involved in the activity. There might be young people, adult volunteers, and visitors. What could happen to cause them harm?
Consider if some people are less likely to recognise a hazard. This may include younger members (like Beavers), those with additional needs, or teenagers who are more likely to take risks. Think about how you can adapt for your section – Beavers may need more supervision, while if you’re working with Scouts you’ll need to be aware of how they perceive risk to help keep them safe.
Sometimes, people may have got used to a hazard being present. This might mean that they know how to behave around it, but visitors might not know that the hazard is present. Think about a heavy entry door, for example – people who come through it every week know how it closes, but new visitors won’t be aware.
Adult volunteers are often great at identifying hazards which might hurt others, but they can sometimes forget to look after themselves. For example, adults sometimes do things that they’re not used to, like lifting heavy things, which can result in injury.
Once you’ve identified who might be harmed, you need to think about how they might be harmed. If someone falls from a wall, their injuries will be different depending on how high the wall is or what surface they land on – this is the how.
Now that you’ve identified who might be harmed and how they might be harmed, you can think about what the risk is. Risk is the chance of someone being harmed by the hazard. For example, the risk of walking along a wall 30 cm from the ground is low, but walking along a wall that’s two metres tall and has no railings has a high risk of harm.
Controls are ways of removing or reducing risk. When you’re deciding how risks are going to be controlled, it’s useful to work through the following questions, in this order:
- Can you remove the hazard entirely?
- Is there a less risky option?
- What can you do to reduce the risk of people being in contact with the hazard?
- What instructions and supervision are needed?
- Is protective or safety equipment available to reduce risk?
The controls on your risk assessment should keep everyone safe. Think about how you’ll adjust your controls to keep people with inclusion requirements (for example, people with additional needs or religious requirements) safe.
Always start at the top of this list. Removing a hazard entirely is always the best option – if this isn’t possible, explore the other options in order
When you’re thinking about these questions, you should consider what you can reasonably do. Don’t just go for the quickest or cheapest option, but think about what would be reasonable for you to put in place as a control in the setting you’re in.
In the example of the heavy door, you might not be able to remove the door. Is there another, less risky entrance? If you need to use the door, think about you could keep it open safely. Could you also use signs to make people aware, or supervise the entrance?
Thinking about a risk assessment isn’t enough. You need to record your risk assessments and communicate to share them with others. Recording a risk assessment means that you document it – it’s usually on paper in a structured format, but you could also save it to a mobile device or use a notepad. Audio recordings are OK if you can’t record your risk assessment in writing.
Documenting a risk assessment helps you to think it through. It also makes it easier to review it when you next do a similar activity, and helps make sure that what you’ve decided to do is clear and well communicated.
However you decide to record your risk assessment, the most important thing is that you document it so that you can share with others – and that you then communicate it with everyone involved.
Think about:
- How do you involve others (adults and young people) in doing and documenting your risk assessment?
- How will you inform others (adults and young people) about the risks you’ve identified and the controls you’re putting in place to keep everyone safe?
Ways of recording a risk assessment
There are lots of ways of recording your risk assessments. We have an online template, but you could also try annotating your activity instructions sheet, making notes on a phone, or using an online risk assessment tool. Audio recordings are OK if you’re not able to record your risk assessment in writing. Whichever method you choose, put the date on your risk assessment, show who was involved in it, and include when it’ll be reviewed.
Communication
Now you’ve got a beautiful risk assessment, it’s important that you don’t keep the information to yourself! Tell others about what you’ve done and what measures are in place to keep activities safe. Involve everyone in keeping activities safe. It doesn’t matter who else is involved, every single person should feel that they can stop an activity if they feel it’s unsafe.
Documenting your risk assessments isn’t the end of the process – you also need to make sure they’re regularly reviewed.
Dynamic risk assessment
Things may change during an activity, so you need to be able to respond and change the activity if needed. This is called a dynamic risk assessment. If you step back and look at what the activity is trying to achieve, it could lead you to do it a different way. You might make changes to the route, venue, people’s training, the adult to young person ratio, and the equipment participants have.
Remember to record any changes you make. You may be able to do this at the time, adding them as notes to a copy of your risk assessment sheet, or you might need to add them later. The changes you made will contribute to your later review of this activity for next time. For example, you might have responded to:
- changes in weather. Maybe you risk assessed for a walk, but it’s started to rain, so you need to decide if you continue the walk or take shelter. This is vital, as if you don’t notice and respond to the changes in weather, it’ll create or increase risk. You should be prepared at stop at certain points and ask yourself things like ‘Should I continue with this activity?’ or ’When do I need to do headcounts to make sure everyone is still OK?’ Consider how you share any outcomes and changes to your plans.
- changes to the people attending. Maybe you’re running a game for Cubs or Beavers and more people than you expected turned up, or maybe people are finding the game trickier than you intended. You might change the rules slightly or decide to switch to a different game.
- the environment. Maybe you arrive at your meeting to find the access tower still up from the painting that’s been going on. You need to think fast, as the young people are arriving soon. You might relocate outdoors (if the activities would work and the weather is OK) or you might adapt your programme to work around the ladders.
- timings. Maybe your planned activity finishes early, leaving you with 15 minutes to fill. Don’t worry – you can grab an active game from your games bank and run it using your generic active games risk assessment as long as you dynamically adapt the risk assessment to the specifics of the game.
Behaviour and inclusion
Inevitably, when you’re managing a team, you’ll come across people who you find it trickier to work with. Some people might talk over others, or not listen to instructions. It can be tempting to ignore people and hope that any challenging behaviour will just stop – but it’s much better to promote positive behaviour to the group and lead by example. This can be challenging so we’ve created some tips to help you deliver sessions which everyone can engage with and enjoy.
Activities should be an enjoyable experience for everyone. Promoting positive behaviour is essential to help activities run smoothly. It provides a positive foundation and makes sure that activities are fun, engaging and safe for everyone. Promoting positive behaviour can also help people cope with the situation they’re in, which reduces the chance of challenging behaviour.
The good news is that we’re in the ideal place to expect and promote positive behaviour. Scouts’ purpose and method is based on personal development, learning by doing, and enjoyment – and a key part of our Promise is being helpful to others.
Simple techniques to encourage positive behaviour
- Have a routine for sessions. Make sure there’s a clear start and finish and set expectations for what young people, adults, and leaders need to do during that particular session.
- Give people notice when you need them to listen or change what they’re doing, for example, by counting down from five to zero. A leader could hold their hand out in front of them and start counting down from five, fold their fingers down with the countdown, and finish with a statement like ‘And you’re now quiet and listening’. Alternatively, you could use an egg timer with an alarm – just make sure that everyone’s OK with the noise the alarm makes.
- Use signals so that you don’t need to use your voice all the time. For example, a leader putting their hand in the air means that everyone should stop talking and pay attention.
- Use a red, amber, and green card system. You’d use the amber card when a young person is causing danger or has hurt someone – it gives them five minutes out to go and think about what they did, and then encourage them to talk to a leader about what happened. If their behaviour improves, show them the green card.
- In the long term, praising and rewarding appropriate behaviour is more than focusing on inappropriate behaviour. Get used to providing age-appropriate encouragement and praise.
- Lead by example and remember that you’re an influential role model for young people. If you shout, young people will often become louder. Talking very softly can be a good way to draw participants in, encourage them to listen carefully, and help them to calm down and re-focus.
Challenging behaviour means different things to different people. It’s important to create and agree on standards so that everyone understands what behaviours are (and aren’t) acceptable.
When it comes to behaviour, one size doesn’t always fit all. People with additional needs may need a separate plan to help them manage – this would be part of making reasonable adjustments to make sure they can join in.
When setting clear standards, make sure that:
- They’re created as a group where everyone has a say.
- There aren’t too many rules.
- They’re worded positively – instead of a long list of ‘do nots’, set expectations with phrases like ‘We listen to each other’.
- Everything is written in language that’s easy to understand.
- Everyone is accountable to the same standards (including adult leaders).
- There’s a clear plan that everyone agrees on that explains what will happen if people don’t meet these standards.
For more information, take a look at the supporting those with additional needs guidance on our website.
If you know that some people in your session struggle with behaviour, someone should talk to their usual leaders or their parents and carers. Once you understand more about that young person, you’ll be able to plan a session that’s accessible for them.
Sensitively ask questions like:
- Are there any recognised triggers for the behaviour at school or Scouts?
- Are there any situations where the young person will find it difficult to cope?
- What methods and strategies have worked well at home, Scouts, and school to help people use alternatives to challenging behaviour?
- What support strategies have worked well at home, Scouts, and school to encourage positive behaviour?
- What do people do at home and school when the behaviour occurs?
- How do you think our team can best support the young person to manage their behaviour?
Make sure to look at our guidance about working in partnership with parents and carers on our website.
ABC reminds everyone that actions bring consequences. Make sure that everyone understands that if someone breaks the rules, there are clear consequences.
When setting consequences, consider that:
- The appropriate consequences will be different depending on the behaviour itself and the circumstances.
- You may need to support everyone to understand that everyone is different – some people have individual plans to help them manage their behaviour (for example, if someone has additional needs there may be different consequences, they may have extra support, or adults may communicate with them in a different way).
- You need to be consistent in your approach and treat all young people fairly.
- It’s best to use positive language and communication whenever you can.
- You should be assertive in your communication. Learn to project your voice so that everyone can hear, but don’t continue to shout. Once you have people’s attention, speaking quietly will eventually get them to be quiet and listen. Where necessary, speak firmly without shouting.
- If you’re talking about challenging behaviour, focus on the behaviour itself (not the young person). You may find the young person’s behaviour challenging, but it isn’t ‘bad’ – and the young person is not challenging or naughty.
Scouts is all about inclusion. In most situations, we can adapt sessions or systems to allow everyone to participate, including people with additional needs. Our approach is to:
- Be inclusive. We do our best to provide access to adventure to all young people by making reasonable adaptations.
- Be realistic and honest. We recognise that we’re not experts. In some situations, young people may need more specialised support. Discuss this with parents/carers to find out what this support could look like, and to make sure they are safe and have a meaningful experience.
When planning and delivering sessions, use the four Cs to make sure they’re inclusive and accessible:
- Communicate. Talk to people’s parents and carers so that you fully understand the young person’s needs.
- Choices. Review the planned programme of activities, focussing on what people can do – not on what they can’t do. Use this information to risk assess each activity in the programme and decide if you need to make changes or adjustments.
- Coordinate. Figure out what reasonable adjustments you can safely make – you could speak to other volunteers to explore this. Make sure that all of the leaders involved in the session understand what’s going on and what reasonable adjustments you’re making. Plan to provide additional leaders where needed.
- Collaborate. Ask parents and carers to prepare people in advance for any changes. It may be helpful to give them your session plan, so they can go through it with their young person before the session
You should make reasonable adjustments that respond to the needs of the individual and remove or reduce any barriers (or support access), by making changes to the:
- Physical environment (for example, how you set up an activity base or the location you choose)
- Way things are done (for example, an activity system or the rules of a game)
- Support provided (for example, the number of instructors you have or the sheets you provide)
‘Reasonable adjustments’ is a legal term that recognises that situations differ and that people in different settings have different practical resources to help meet someone’s needs.
What’s ‘reasonable’ depends on how effective the adjustment is, whether it can actually be done, how much it will cost, and what resources are available. This means it’s hard to give examples, because it’s different in every situation. You can find out more about reasonable adjustments on our website.
Reviewing, evaluating, and feeding back
Reflecting on what you’ve done and learned is the most important part of a session, but we know it can also be the most difficult. Here are our top tips for reviewing, evaluating, and feeding back.
Reviewing (or debriefing) is the process of looking back at an experience, evaluating it, and learning lessons for the future. Doing an effective review will help you to be better at something next time. The lessons you learn in your review are often broad enough to apply to a wide range of other situations.
When you analyse your own experience, you look at it from a different perspective and think about things you might have missed before. Reviews should usually spark some debate within the group, which helps everyone learn.
One way to lead a great review is to lead participants through a process with four Fs using the suits from a deck of cards:
Facts – diamonds
First, use facts that are as hard as diamonds to explore what happened. The diamond stage is often a bit like a memory exercise because people have to work together to remember the sequence of events and describe key moments or forgotten details. Some people may see a different side of the diamond that others didn’t notice.
Feelings – hearts
Next, everyone should use their hearts to explore their feelings about the session. Encourage people to tune into their experiences and to express and share their feelings. If people don’t really appreciate the nature of the experience and how it made them feel, the things they learn won’t be well grounded in what they actually experienced.
Findings – spades
Spades are for digging and investigating, and it’s time to dig deeper into the reasons and underlying causes as everyone asks ‘why’. There will never be time to dig the whole field in one go, so help everyone to make sure that most of their digging takes place in the most productive areas.
Futures – clubs
Clubs represent a choice of directions, so finally, it’s time to decide which direction people’s learning will take them in. You can use a variety of techniques to achieve this.
Make your reflection a game
All reviews should be linked back to the objectives that you agreed at the start of the session. Why not try some quick games to kick off or motivate reflective practice at the end of a session?
ActivitiesThe movement map
- Everyone should spread out in the space.
- The person leading the game should ask someone a question about the activity or game they’ve just finished. Don’t forget to use the 4Fs.
- The person should say their answer out loud.
- Everyone that agrees with the answer should run and form a group around that person.
- The person leading the game should choose someone who didn’t join that group and ask them to give their own answer.
- Again, anyone that agrees should run to form a group around the person who’s just answered. Some people may move from one group to another because they agree with both answers – that’s OK.
- The person leading the game should keep asking people questions until there are no more new answers.
Replay the day
In small groups, people act out different parts of the session. Ask people what they enjoyed, found most challenging, learned the most from, and so on.
Wheely easy discussion
- Lay out one rope for each person in the group as if they were making the spokes on a bicycle wheel – if you don’t have ropes, you could draw lines in another way or ask people to imagine the ropes.
- Everyone should stand at the outer point of their line – this is the start. Inside, where all the ropes meet, is the goal.
- Ask the group questions about the activity. Everyone can then rank themselves against the question by moving in or out along the spokes. For example, you might ask questions like:
- How well did you listen to other people?
- How hard was it to complete the challenge?
- Everyone should discuss whether they believe people’s self-assessments are correct or not.
It can be difficult for everyone to have eye contact with each other once they’re in position. This often means that the people nearest the centre pay attention to each other (rather than to those further out). You could make it easier for everyone to chat as a group by asking people to place an object on their spoke instead.
Talking knot
This is a variation on the talking stick – where only the individual holding the knot can speak.
- Tie a piece of rope into a large circle, making sure it’s big enough for the entire group to stand or sit around and hold onto.
- The person who’s holding the knot begins the discussion.
- When they’ve finished, everyone should work together to pass the rope in a clockwise direction around the group until the knot reaches someone who wishes to speak – they should shout ‘Stop!’
Question-a-ball
On each face of an old football, write some questions about the facts, feelings, findings and future of the session you just completed. For example:
- What did you do?
- How did it make you feel?
- What did you learn?
- If you did this activity again, what would you change?
To play, everyone should throw the ball to each other. Every time someone catches it, they should answer the question that their right thumb is touching.