Scouts’ guide to winter adventure with Dacia
We’re incredibly excited about our new partnership with Dacia. Together, we’re helping make adventure affordable and accessible to young people in the UK.
We want to help you make the most of the outdoors during winter. That’s why we’ve created a Guide to Winter Adventure.
With our top tips, you’ll never be caught out in the cold, and you’ll get the chance to enjoy all the spectacular things nature has to offer during the chilliest season. From tasty treat ideas to shelter building and fire lighting, we’ve got it all covered.
Stay safe in the cold
Safety should always be your first priority when you’re attempting any activity in this guide. And, remember to wrap up warm.
Scouts' Guide to Winter Adventure
- Make sure you choose the right equipment for your adventure. If you’re camping overnight in the cold, check your sleeping bag and tent are for the right conditions.
- Sleeping bags. Sleeping bags use the heat generated by your body to circulate warm air without releasing it. The best kind of sleeping bags are those with features that help retain this heat. Most sleeping bags will have a minimum temperature marked on the packaging, so check yours is suitable for your trip. When you’re back home, remember to air and dry your sleeping bag.
- Stay warm. The only safe source of heat in a tent is your own body, so remember to wrap up well. Don’t light a fire or stove inside a tent or drag in a barbecue – apart from the fire risk, these can generate deadly Carbon Monoxide fumes that’ll be trapped in the tent.
- Food and drink. As your body is your key heat source, make sure to use the right fuel. In cold weather, your body needs sugars to generate heat. Make sure you eat plenty of butter and pasta for example. Drink hot tea or other hot drinks, especially before going to bed. Always stay hydrated.
- Clothing. Most of your heat will be lost through your head and extremities (your hands and feet), so wear a hat, even in bed if necessary, as well as gloves, scarf and two pairs of socks! Place a hot water bottle at the foot of your sleeping bag some time before going to sleep. In addition, wear light, wick layers close to the skin beneath your other winter clothing. Black clothing helps attract sunlight.
- Signs of hypothermia. Hypothermia happens when a person’s body temperature drops below 35 degrees. In this state, excessive shivering confusion, slurred speech and clumsiness will result. If you suspect someone becoming hypothermic, try and warm them as quickly as possible, Ideally, this means getting them to a warm shelter, but at the very least, they should huddle up with others, drink a warm drink and wear dry clothes. Seek emergency medical attention.
- Signs of frostbite. Early stages of frostbite is sometimes referred to as Frost Nip, where you may start to experience pins and needles, and your skin will become cold, numb and white. An early sign of frostbite is a whitening of the skin that doesn’t return to its normal colour after applying pressure. Seek immediate emergency medical attention for this.
- Packing your rucksack. There’s an art to packing your rucksack. Do it the right way and it’ll make life a lot easier on your winter adventure:
- Put the items you need easy access to at the top of the rucksack.
- Spread the weight so it’s easy and comfortable to carry.
- Make sure easily damaged items are stowed carefully in the pockets.
- Keep clothes in a waterproof liner bag to keep them dry.
- Carry mats can be carried beneath the rucksack in a plastic bag, or be secured to the top.
- Light bulky items should be placed near the bottom. Heavier items are best placed at the top. This will make the rucksack easier to carry.
- Check you have everything on your kit list.
Everyone heading into the great outdoors needs to know how to build a good fire. The size and type of fire you build depends on what you want to use it for: warmth, cooking, or light.
Remember a fire needs three things: Heat, oxygen, and fuel. Gather sticks of different thickness and start with the smallest. You can light a fire with matches, or, if you’re feeling more adventurous you can use a flint and steel. These create a show of sparks – have some cotton wool ready to catch these, then start your fire with dry wood shavings or pieces of tinder and kindling (such as small and very dry twigs).
Whatever you build, you must do it safely and consider the impact you have on the land. Don’t dig a hole in the ground unless you have permission from the landowner. Consider the impact your activity will have on the environment and how you can minimise it. Leave No Trace have 7 great principles for anyone visiting the outdoors.
Knife safety
Outdoor cooking requires a sharp knife. Knives should be stored and carried carefully (in the middle of a rucksack in a knife sheath) and only taken out when you’re ready to use them. If you’re sitting, make sure the ground, chair or log is stable and level. Always cut away from the body.
Different countries have different laws for carrying and storing knives. Legally you must have a good reason to be in possession of a knife in a public place. In the UK, the legal length for a folding blade that does not lock is 7.62cm (three inches). Always check first and remember ignorance of the law is not an excuse.
Good food hygiene
Always practice good hygiene practices, such as washing your hands before handling food. Remember to be aware of people's dietary requirements, food allergies and preferences.
Spud eggs
Cut the top off a potato, hollow it out, crack an egg into it, replace the lid and wrap in two layers of foil. Put in hot embers for 40 minutes.
Campfire casserole
Wrap sausages (or finely chopped beef/chicken, or no meat at all), chopped onion and any choice of other vegetables in one layer of foil and put into embers for around 30 minutes.
Baked fish
Clean and gut your fish thoroughly beforehand. Wrap your fish in newspapers, wet thoroughly and place on the embers. Turn the fish several times at intervals of about 3-4 minutes until the newspaper is dried and in about 15 mins it is done.
Kebabs
Peel the bark from a long ‘green’ (i.e. living) stick (not laurel or yew as these are poisonous) and push a mixture of chopped sausages, onion, mushroom, peppers and tomato onto it. Cook over hot embers until the sausage is browned.
Twists or dampers
Mix self-raising flour, water, milk and an egg (or just plain flour, water and vegetable oil), to make a thick dough. Roll into a ‘snake’ and wrap it around a green stick (see above). Toast over embers until lightly browned and serve with butter and jam.
Chocolate banana
Slice an unpeeled banana in half lengthways and push chocolate buttons inside. Close it up, wrap in two layers of foil and cook in hot embers for up to 15 minutes.
Baked apple
Cut out the core of an apple, place the apple on foil and fill the hole with raisins, sultanas, sugar and/or, chocolate. Wrap in two layers of foil and cook in hot embers for 20 minutes or so. Eat with care as the sugar gets very hot!
Campfire sausage rolls
Cook sausages in the normal way on a stick or in a pan. Mix flour and water with a pinch of salt to make a dough (twists). Wrap the dough around the sausage put on a stick and turn slowly over a campfire until light brown.
You can find plenty more delicious camp recipes on our Activity finder.
Believe it or not, but you can get a good indication of the weather just by taking a deep breath. If the air is very pungent, for example with compost like odours as plants release their waste, then wet weather is on the way. When the air contains more moisture, scents are stronger.
Watch what animals do
Most people know that cows lie down before a thunderstorm. They also tend to huddle together before bad weather. You will also notice fewer seagulls in the sky at the coast if a storm is on the way. Almost all animals become subdued before rain. Rows of birds on telegraph wires usually indicate low pressure, and therefore fair weather.
Look down
If you see dew on the grass in the morning, it is an indicator of fair weather – there is little breeze to bring rainclouds your way. If it is dry, this means that it has been dried by a breeze, which can often bring inclement weather. Forget all of the above if it rained during the night!
Look at a pine cone
Why not use this favourite to predict the weather. If there is moisture in the air, the scales on the pine cone will close – this means that rain is on the way. If it is fine, the scales will dry up and open.
Cloudspotting
Cloud spotting has become recognised as an art in its own right; it’s easier than you think and allows you to predict weather conditions with surprising accuracy.
We share our countryside with a huge variety of animals. Take some time to get to know some of these woodland creatures:
- Stoat
- Wood Mouse
- Muntjac deer
- Squirrel
- Red deer
- Badgers
Before heading out into the cold, learn how to build a shelter in an emergency. Here’s how to make an A-Frame shelter, one of the best and easiest to make.
Prepare the ground
Before you begin work on your A-Frame, check the site is suitable. For example, don’t build it near an animal trail or ants’ nest. Check there aren’t any dead branches above you. Think about where the sun rises and sets and the direction of the prevailing wind. You can use the terrain and surrounding flora to help minimise the latter. Avoid lower ground between two high points as cold air can collect in such places and rain runoff may be a problem, too.
Making your frame
- To start the frame you’ll need a straight and sturdy ridgepole and two forked supports. Make sure the supports are locked together and that the ridgepole is also secured through the middle. You should be able to rest your weight on the entrance end of the ridgepole at this point. You can use a sharpened digging stick to create small depressions in the ground for the supports.
- Next clear any debris inside the frame and check for any sharp stones.
- Before going any further, lie inside the frame to check you can fit inside without your head sticking out and your feet touching the ridgepole.
- Now start to build the sides by using more sticks which you should rest on the ridgepole. Aim to get fairly straight sticks, avoid rotten ones and trim them to size so that they don’t exceed the ridgepole excessively. This will help to funnel rain. If you find that some sticks won’t stay in, weave very thin branches or plants such as nettles between them for support but again, don’t have them sticking out.
- Once the frame is finished the thatching can start. To make the available leaf litter go further, consider ‘tiling’ the frame with something like bracken if available (never pull bracken as you’ll find the stems can give you a nasty paper like cut), Birch bark or further woven twigs.
- Finally, add lots of leaf litter, starting at the base of the frame and working upwards towards the apex. Using a coat or old tarp will speed up collection, and keep checking in the entrance for chinks of daylight. If there is no chance of wind and rain a minimal covering will make a surprisingly cosy shelter. If it’s going to be wet then look to put on in excess of a foot of leaf litter all over. Try not to scoop up soil and small debris as it can fall on you in the night.
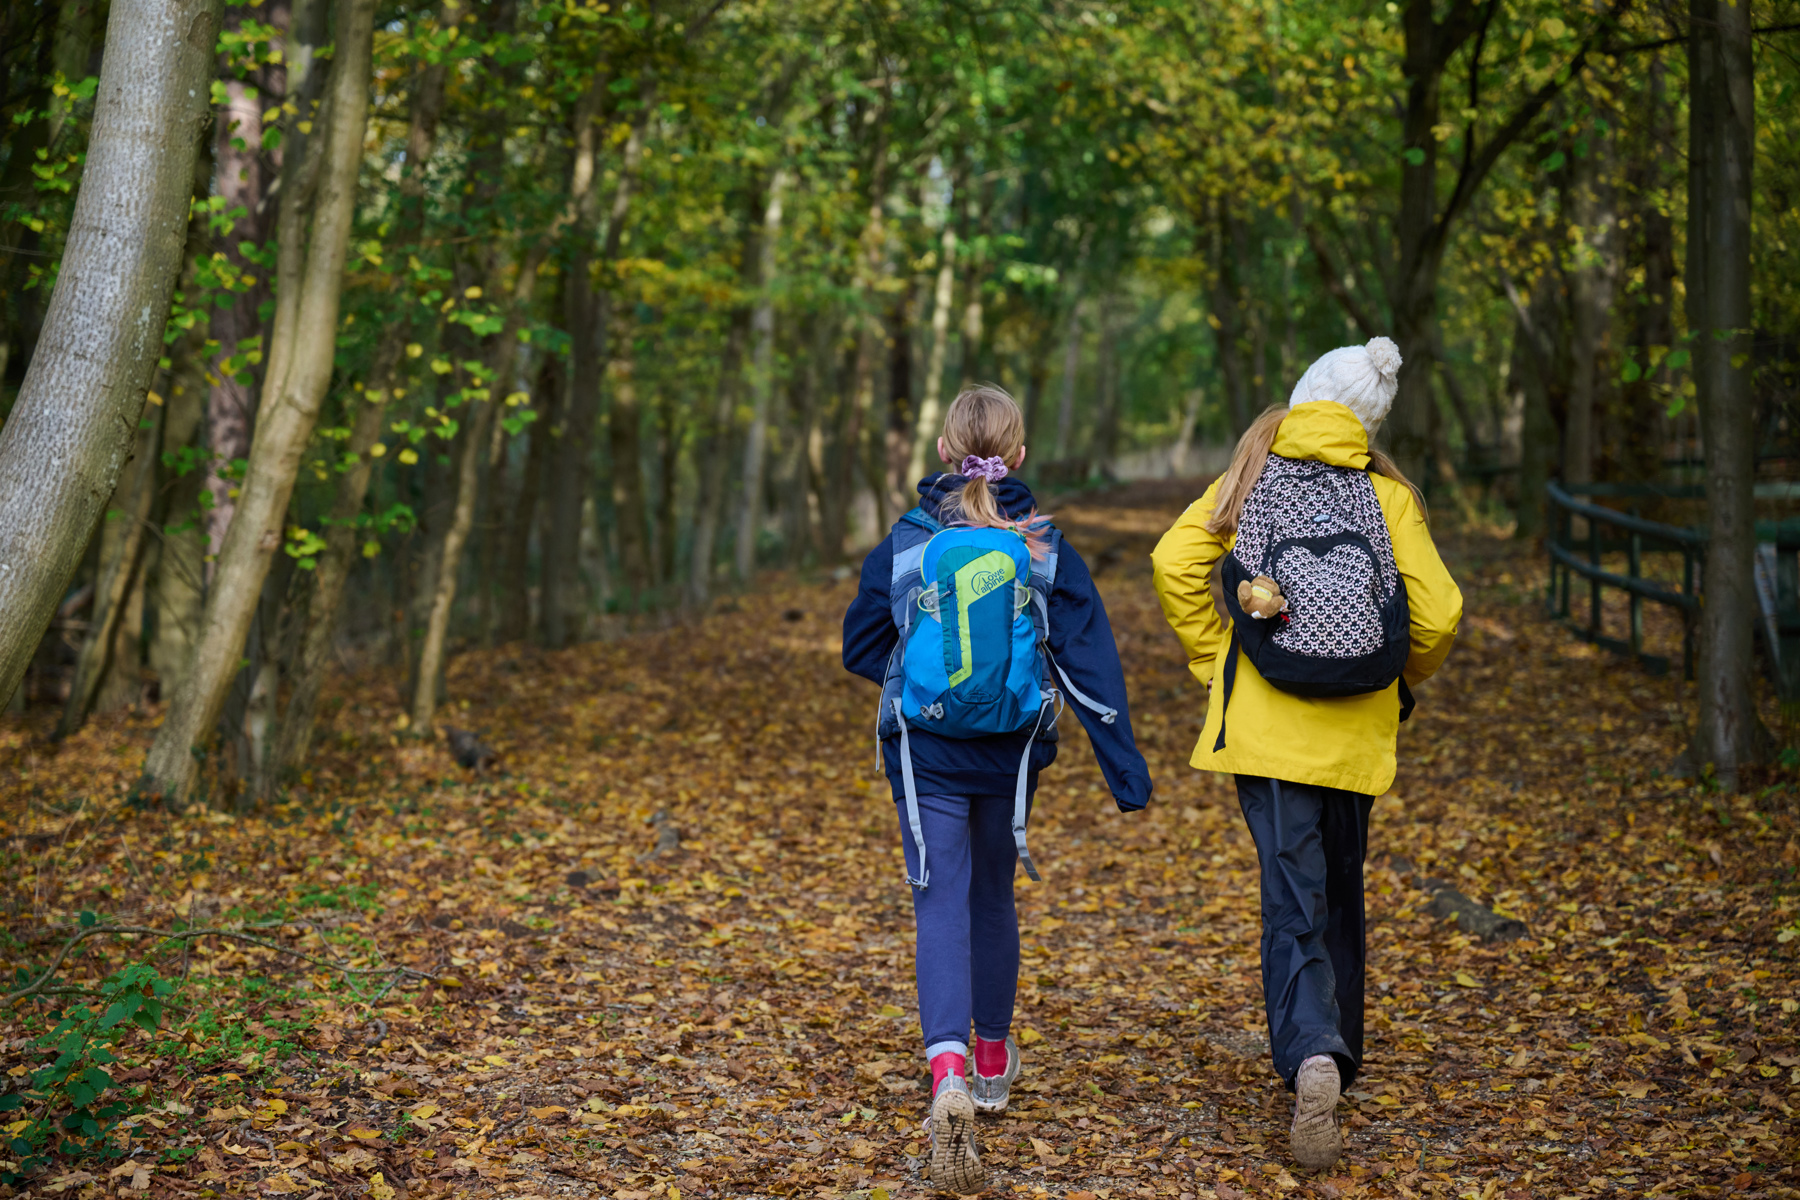
Getting off the beaten track and hiking is one of the most inspiring ways to see the countryside. There’s no better feeling than pulling off your boots at the end of a long walk with a good mate. But like anything else, it pays to be prepared.
In the winter, it gets dark early. Make sure you take this into account when you're planning your route and carry a suitable, bright head torch in case you end up walking into the night.
Safety first
Before setting off anywhere, let someone know where you’re heading and when you expect to return. Check your phone is fully charged and that you have a compass and map with you.
Now, make sure you’re wearing a good pair of boots (preferably waterproof) or comfortable shoes. Take time to plan your route and think carefully about how long it’ll take you to walk it. If there are hills it will take longer!
If you’re heading into unfamiliar territory or terrain, training in how to use a map and compass and hiking skills is essential. Remember, your phone can lose signal and charge, leaving you stranded.
The five Ds of Navigation
In Scouts, we’ll help you learn how to use a map and compass, as well as the five D’s of navigation – Distance, Duration, Direction, Description and Destination:
- Distance – (how far)
- Duration – (how long)
- Direction – (which way)
- Description – (What does it look like and what do I see?)
- Destination – (What will I see at the end?)
Navigation using the stars, sun and moon
In an emergency, you can also find your way in dark using the stars, at least when the sky is clear. The North Star is directly above the North Pole, so if we can find it then it will show us the way north, because ‘north’ means ‘towards the North Pole’.
Geocaching began when someone wondered what would happen if they hid a container of trinkets and a log book out in the wilderness and posted the coordinates on the internet. Would people go and look for it? They did, and it’s now grown into an activity enjoyed across the world. Participants seek out hidden containers (caches) using published coordinates. When found, they record the find in the log kept in the container and on the website that listed the location.
Although other websites do exist, the activity is dominated by www.geocaching.com. Within the United Kingdom, there are other websites that supplement the provisions of geocaching.com and provide essential information and rules specific to the UK.
It’s important to remember that this activity is based on locating a hidden container, while making sure that non-geocachers don’t find the cache.
Follow the code of conduct
A Geocache may be of any size from Micro (simply large enough to hold a paper log) to regular containers of several litres’ capacity.
For the rural environment, a new cache category is appearing, the Nano cache. It's a specialist container just large enough to hold only a long thin strip of paper, often magnetised and secured behind road signs, for example. Weather sealing is very important too.
Check out the blog we wrote with GO Outdoors for important safety tips and requirements when cycling in winter.
Remember, don’t just plan for your winter adventure. You need to think how you’re going to get there too.
Setting out on a winter outing can be a journey in more ways than one. The season’s harsh weather and shorter, darker days often making for difficult driving conditions.
With a bit of preparation, though, plus some handy tips from Dacia, travelling to your destination can be a hassle-free experience. This'll mean that your winter adventure starts in the best way possible and is memorable for all the right reasons:
- Check your fluids. Just like us, a car needs fluids to function properly. The engine’s oil and water levels need regular checks during winter. It’s also more important than ever to make sure the screen wash is topped-up. With the season’s rain and dark and the increase in road grime and salt, it’s more important than ever that you’re able to keep the windscreen clean.
- Inspect your tyres. Your family car’s tyres must be in good condition if you’re to stay safe on the road during winter. As well as checking the pressures, look for damage and signs of perishing. The legal limit of tread depth is 1.6 mm, but during the winter it’s best to have at least 3 mm.
- Look at your wipers and lights. Checking windscreen wiper blades is often overlooked, and it’s especially important that you inspect them during winter. Make sure the rubber isn’t split and that they’re still able to clear the windscreen effectively. Likewise, make sure all the lights are functioning correctly and that the lenses are clean.
- Remember your de-icer and scraper. Plummeting temperatures mean your windows can often be covered in ice when your car’s been parked overnight or even during the day. Make sure you have a good ice scraper and a bottle of de-icer.
- Stay warm and seen: pack for winter. If your car breaks down or you become stranded, make sure you have the essentials to stay warm and seen. This means having warm clothing, a blanket, a shovel, a torch, and a high visibility vest packed in your car.
- Don’t forget food and drink. Again, being stranded is bad enough, but it’s doubly worse if you’re hungry! Be sure to carry a good supply of food, water and a flask of hot tea or coffee with you.
- Wear your shades. Sunglasses are arguably even more essential for winter driving than during the hotter months. The low sun can dazzle drivers, making it very hard to see the road.
- Keep your phone charged. Most people have a mobile phone with them, but don’t forget the charger! If you need to call for assistance, now isn’t the moment to discover that your battery is flat or low on charge.
Preparing for winter with Scouts and Dacia
Find out how we're working with Dacia by visiting our Dacia supporter page.
You can also download a PDF version of our full Scouts' Guide to Winter Adventure.