Learn to build an altar fire
You’ll need
- Fire lighter (for example, matches or ferro rod)
- Firewood
- Cooking utensils
- Kindling (for example, small sticks)
- Tinder (for example, cotton balls and petroleum jelly)
- Fire buckets
- First aid kits
- Chosen ingredients
Join the practical skills alliance
- knife, axe and saw safety and skills
- backwoods cooking
- tarpology and tents
- fire
- kelly kettles and water purification
- pioneering
- crafts
- game preparation
Before you begin
- Use the safety checklist to help you plan and risk assess your activity. Additional help to carry out your risk assessment, including examples can be found here. Don’t forget to make sure all young people and adults involved in the activity know how to take part safely.
- Make sure you’ll have enough adult helpers. You may need some parents and carers to help if you’re short on helpers.
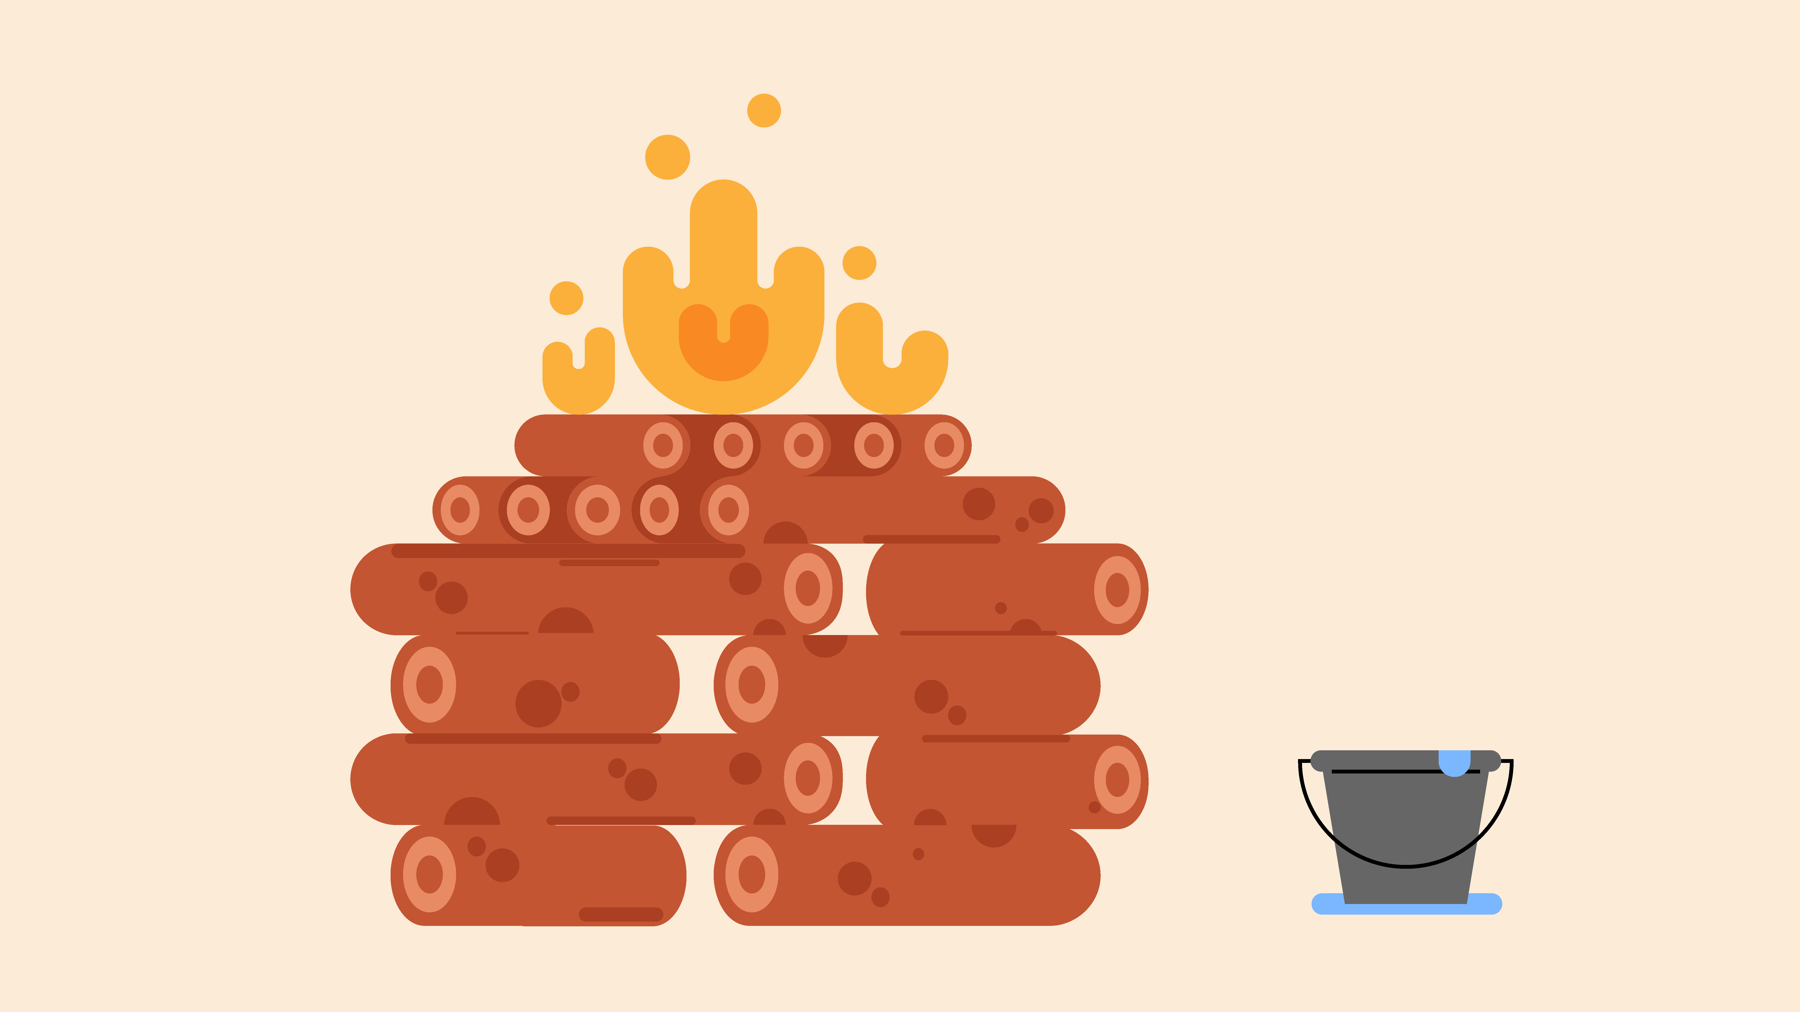
Build an altar fire
- Gather everyone together in a circle and tell everyone you're going to be exploring a different type of fires to build, which is called an altar fire.
- Explain that altar fires are especially useful when the ground’s wet, when there’s peat that could catch fire, or when there’s snow.
- Everyone should split into groups of 3 to 4 people and find a spot to make their fire. They should choose somewhere away from anything that could catch fire, the ground should be flat and clear, and there shouldn’t be any overhanging branches or structures. It’s best to choose somewhere with a natural windbreak if possible.
- Each group should start by laying a row of large green logs on the floor to make the bottom layer of their altar fire. You may want to cut grooves into these logs to make the base more stable.
- Lay another row of large green logs on top of the existing layer. The second layer should run the other way – so the logs are at right angles with the first layer.
- Everyone should keep laying logs on top of the base (changing the direction they face with each layer) until they have a stable base about 60 - 70 cm tall. The best height for your fire depends on the group. Build the altar so the fire is at a safe and comfortable height to work with.
- Now, create a platform on the base using green, evenly-sized logs.
- Finally cover the platform with a layer of mud. The mud layer should be at least five centimetres thick.
Build and light the fire
- Everyone should collect wood for their fire – they’ll need a mixture of small pieces of kindling and bigger pieces of wood to keep the fire going. At the same time, they should collect tinder to help them start their fire from a spark (for example, dry grass and straw).
- It’s best to get enough kindling for three or four attempts. If you succeed first time, you can save what’s left for later – but lighting a fire can be tricky and you may need to try, try again. We’ve included some information on the best wood to use below.
- Put a layer of dry wood on top of the mud on their platform, to create a base for their kindling.
- Groups should sort the rest of their wood into piles by size – this will make it easier to grab the sticks as they need them. If the ground’s damp, use some sticks to raise your wood up so it stays dry. Now, lay the fire. A star fire’s a great place to start.
- Create a small bundle of their tinder and surround it with kindling. It’s OK for the kindling to be on top of the tinder, as long as it doesn’t squash it and there’s still a gap to light it.
- Everyone should light their starting material. A ferro rod and striker is great for tricky weather conditions, but people could also use lighters or waterproof matches.
Get cooking
Everyone should prepare their favourite campfire recipe. There are lots of options, depending on what they want to make, people could try:
Fire lighting is a lot easier if you’re using the right type of wood. Some types of wood burn really well, but others spit, go out, or even release dangerous fumes.
Excellent woods
- Ash: the best wood for burning because it provides both flame and heat. It’ll even burn when it’s green if you can’t find any seasoned wood.
- Beech: almost as good as ash, but green beech doesn’t burn as well.
- Blackthorn: one of the best woods for fires because it burns slowly with good heat and not much smoke.
- Fat wood: pine wood with plenty of sap in it. The sap makes it very flammable, so it’s great for starting fires. It’s often found on the underside of fallen pine trees or at the base of dead pine trees.
- Hawthorn: similar to blackthorn – it burns slowly with good heat.
- Oak: the flame’s sparse (and the smoke is acrid) but very old, dry, seasoned oak is excellent for heat. It burns slowly and steadily, and doesn’t produce much ash.
- Yew: one of the best woods for breaking. It burns slowly with a fierce heat and the scent’s lovely too (an added bonus).
Good woods
- Apple: burns slowly and steadily. It won’t give you a big flame, but the heat’s good and it smells nice too.
- Birch: good heat (and a nice smell), but it burns away quickly.
- Cedar: snaps and crackles as it gives off a good heat (but little flame). It smells nice, but it needs to be fully dried out before you burn it.
- Cherry: a slow-burning wood. It produces good heat and smells good too.
- Hazel: Burns well.
- Hornbeam: almost as good as beech.
- Maple: Burns well
- Pear: burns with good heat and a good scent.
- Plum: burns with good heat and a good scent.
- Sycamore: burns with a good flame and moderate heat.
OK woods
- Elm: unpredictable because of Dutch elm disease and can smoke violently.
- Holly: is only good when seasoned.
- Laurel: has a brilliant flame.
- Pine: burns with a good flame, but often spits lots too. The resinous Weymouth pine burns with a blue flame!
- Plane: burns well, but it can throw sparks if it’s very dry.
- Rhododendron: its thick old stems, which are very tough, burn well.
- Walnut: burns well and smells nice too.
Poor woods
- Alder: isn’t good in heat and doesn’t last.
- Douglas fir: doesn’t give much flame or heat.
- Elder: it’s a quick burner, but it creates lots of smoke and not a lot of heat.
- Horse chestnut: a good flame (and good heating power) but spits a lot.
- Larch: crackly, scented, and fairly good for heat.
- Lime: burns with a dull flame.
- Poplar: Burns poorly
- Sweet chestnut: burns when seasoned but spits excessively so it’s not suitable for campfires.
- Spruce: burns too quickly (and with too many sparks).
- Willow: burns slowly and doesn’t produce much flame, even when it’s seasoned. It’s also likely to spark.
Reflection
This activity was all about persevering. Lighting fires is one of the most useful survival skills to learn – but it isn’t always easy. Even when people do everything right, sometimes the conditions (or just pure chance) aren’t in their favour and things don’t work. Did anyone have to try, try again as they built their fire? How did it feel when things didn’t go to plan? Learning to get back up and keep going is a useful skill. When else might people need to be able to push through when things get tough?
Safety
All activities must be safely managed. You must complete a thorough risk assessment and take appropriate steps to reduce risk. Use the safety checklist to help you plan and risk assess your activity. Always get approval for the activity, and have suitable supervision and an InTouch process.
- Outdoor activities
You must have permission to use the location. Always check the weather forecast, and inform parents and carers of any change in venue.
- Heavy and awkward objects
Never lift or move heavy or awkward items alone. Ask for help or, if possible, break them down into smaller parts.
- Fires and stoves
Make sure anyone using fires and stoves is doing so safely. Check that the equipment and area are suitable and have plenty of ventilation. Follow the gas safety guidance. Have a safe way to extinguish the fire in an emergency.
- Cooking
Teach young people how to use cooking equipment safely. Supervise them appropriately throughout. Make sure it’s safe to use and follow manufacturers’ guidelines for use.
You could work in groups of varying sizes and select a different type of fire to lay on top of the altar.
- Altar fires are raised, so may be easier for some people to reach.
- It’s OK if some people take different roles in this activity – some people will need to collect materials, watch the fire, and start preparing the food. Anyone who finds the physical aspects tricky could come up with the next idea or direct everyone else – it’s always useful to have someone keeping an eye on everything to make sure the team’s working together smoothly.
All Scout activities should be inclusive and accessible.
These shelters are a great way to keep covered without a tent. People could use everything they’ve learned in this activity as part of a 24-hour survival exercise that counts towards their Scouts Survival Skills Activity Badge.
There are plenty of ways to light a fire, and even more recipes to cook on them. Let young people take the lead and choose their own type of fire to top their altar and what they’ll cook on it. This is best done as a discussion beforehand to make sure everyone is prepared and has the right materials.